Last year, I finally organized my kids’ school papers and created a school memory box for each of them. Now that I have used this system for a little while, I wanted to share with you all how I put it together and how I have been maintaining it.
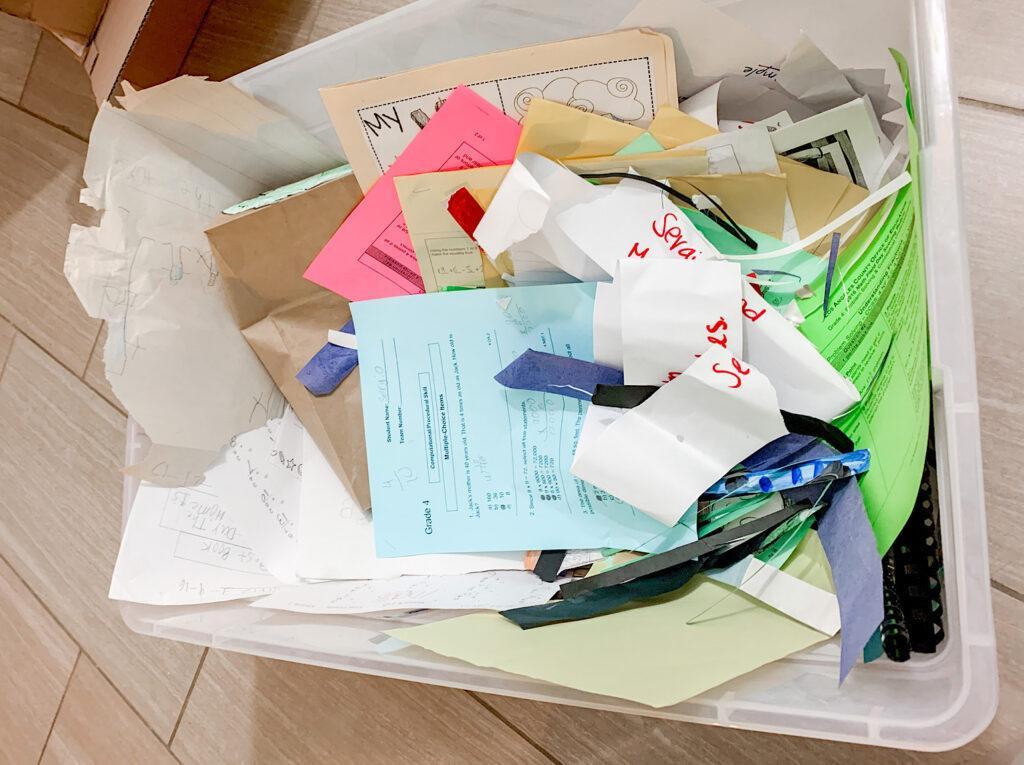
So, almost a year ago, I was desperately looking for a system that would help me get a handle on my kids’ school paper clutter and also a simple system to keep the school memories organized moving forward. Because, let’s be honest, deciding what to do with projects and miscellaneous school papers kids bring home can get overwhelming. You either throw it away or have it shoved into boxes where no one will probably ever see it again. I definitely did not just want to throw it all away, but I also did not want to have boxes and boxes full of random school papers.
I started searching online and came across many versions of this filing bin system, as well as other similar systems. I ultimately decided on the filing bin system because it better suited our family’s needs. However, with so much information available, I quickly became overwhelmed, and the project seemed daunting. I was years behind and didn’t know where to start.
Therefore, I decided to break down this project into manageable steps that would work for me and my specific situation. I can get much more done when I have a plan of attack and an outline to follow. Also, this way, I feel less overwhelmed, and it helps me complete a project from start to finish.
Okay, so enough rambling! In this post, I show you how I created a school memory box for each of my kids and how I sorted and organized all the years of disorganized school memories I had stuffed into boxes.
How To Create A School Memory Box
Step 1 – Gather Supplies And Print Labels
List of supplies I used:
- Letter Size File Bin
- Hanging File Folders – Letter Size – (pink) and (blue)
- Clear Shipping Tape and/or Glue Stick
- Scissors
- Measuring Tape
- Dry Erase Marker
- USB Flash Drive
- Print Labels (Links below)

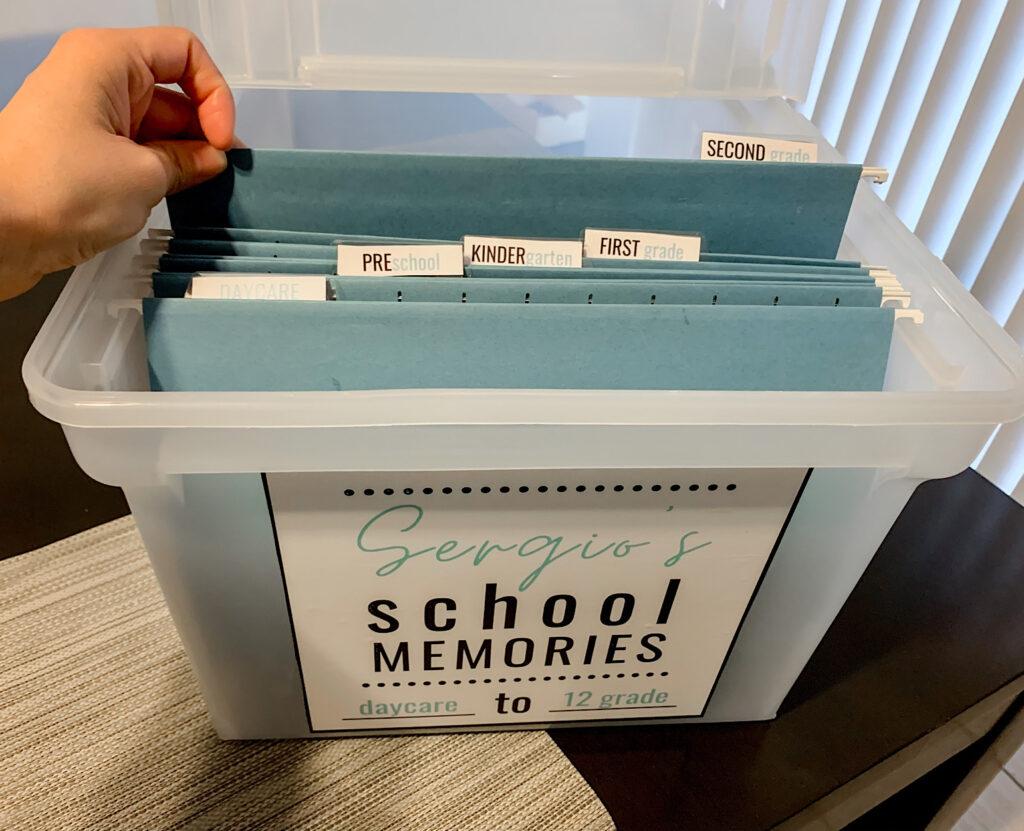
Step 2 – Measure and Apply
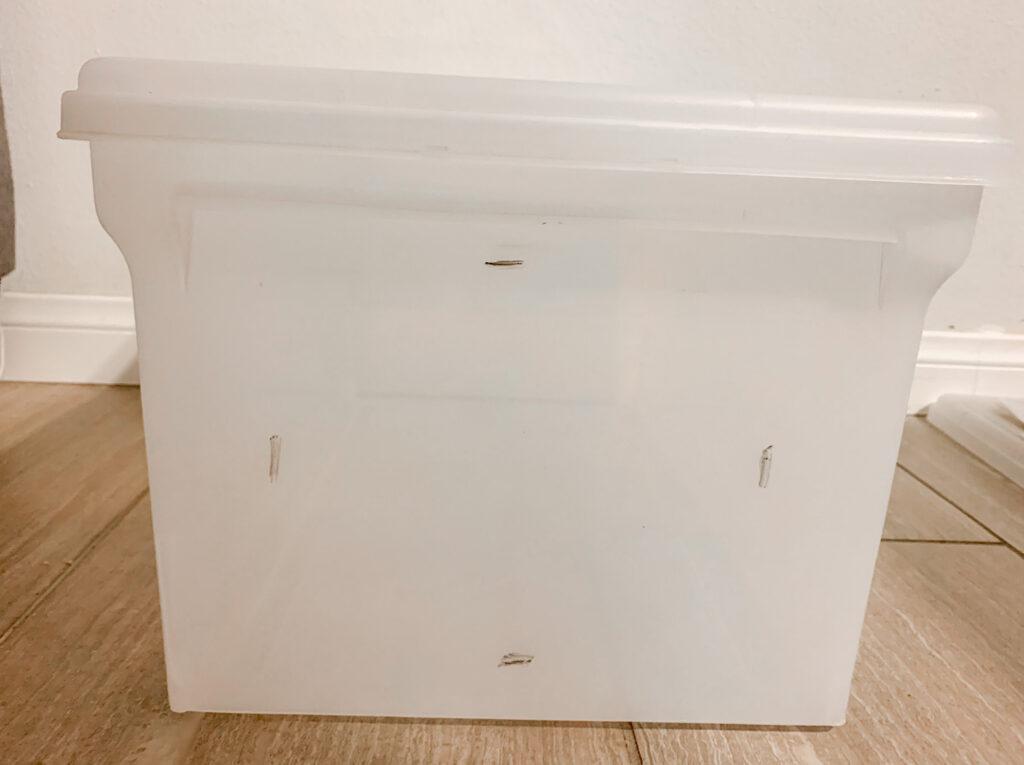
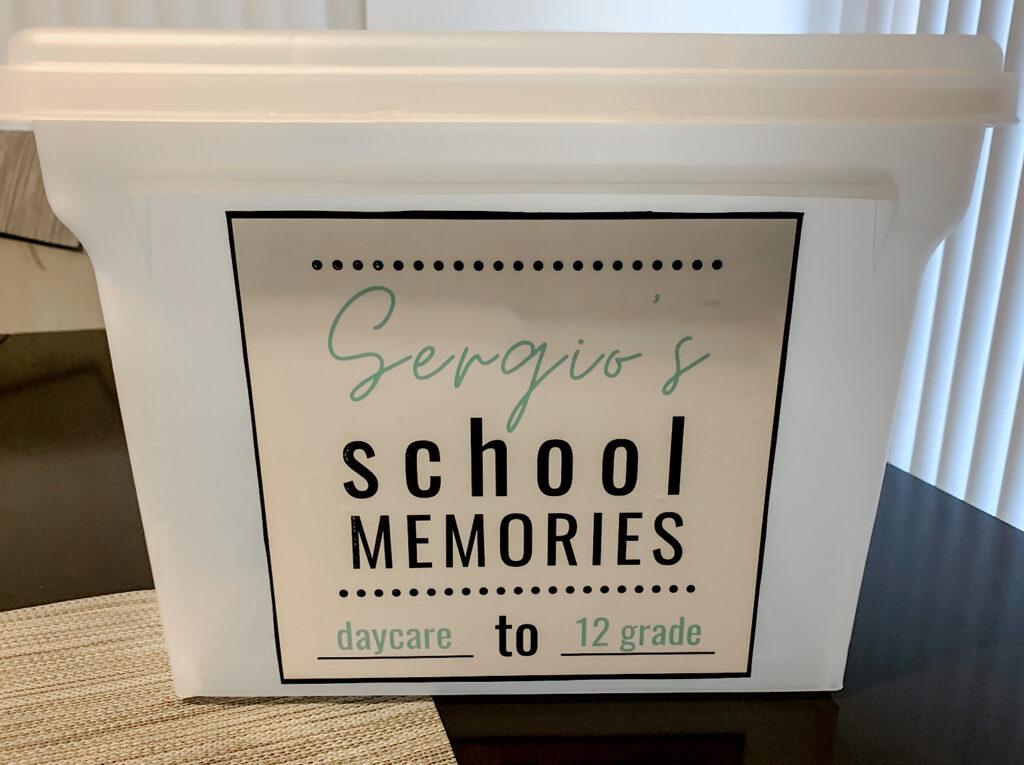
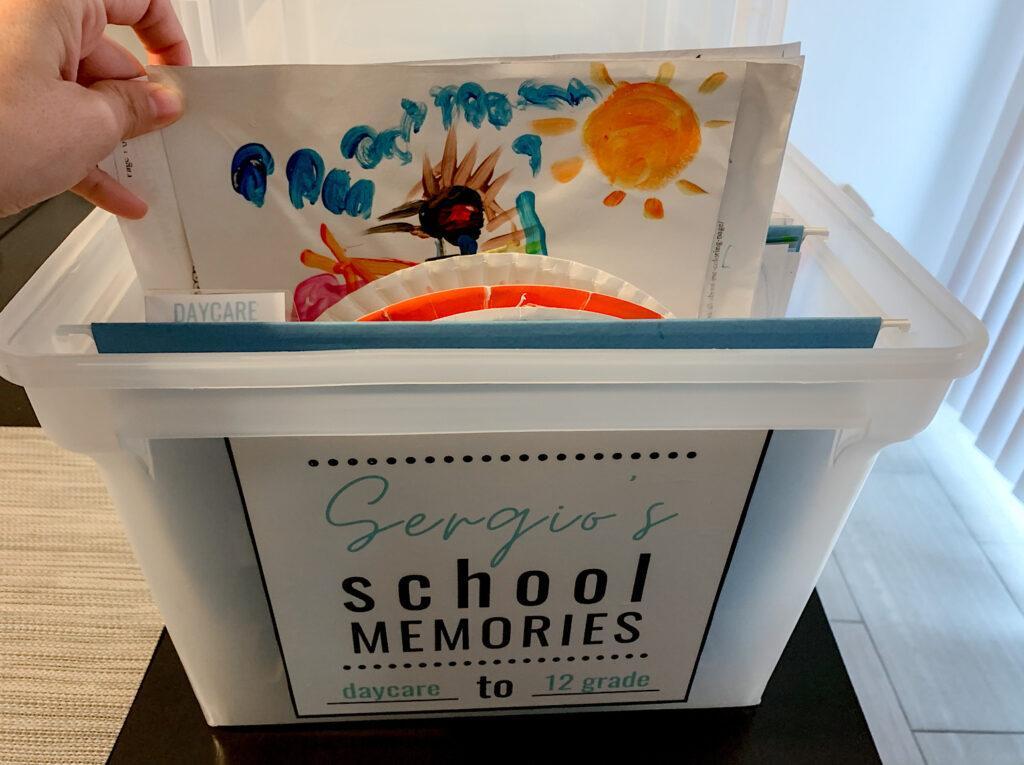
Measure and mark the center of the file bin with a dry-erase marker before applying the label. Once you have marked it, apply the front bin label. It should end up centered, as shown below.
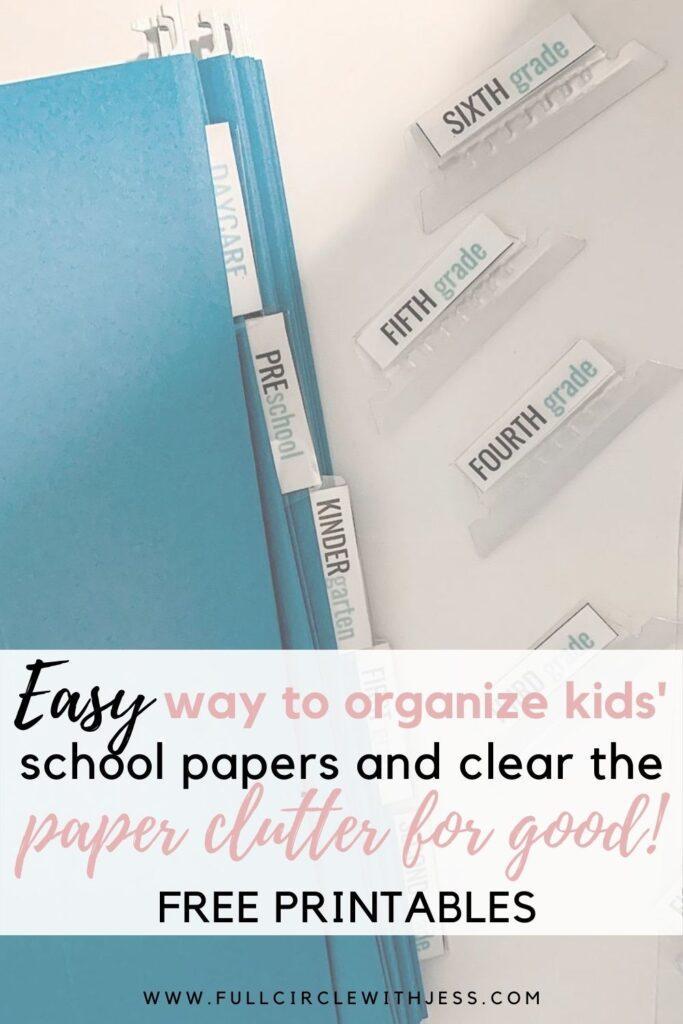
Step 3 – Cut and Insert Labels
Then, cut and insert labels into designated tabs.
If you are using the labels provided in this post, see the pictures below to see how to cut the labels so they are double-sided.
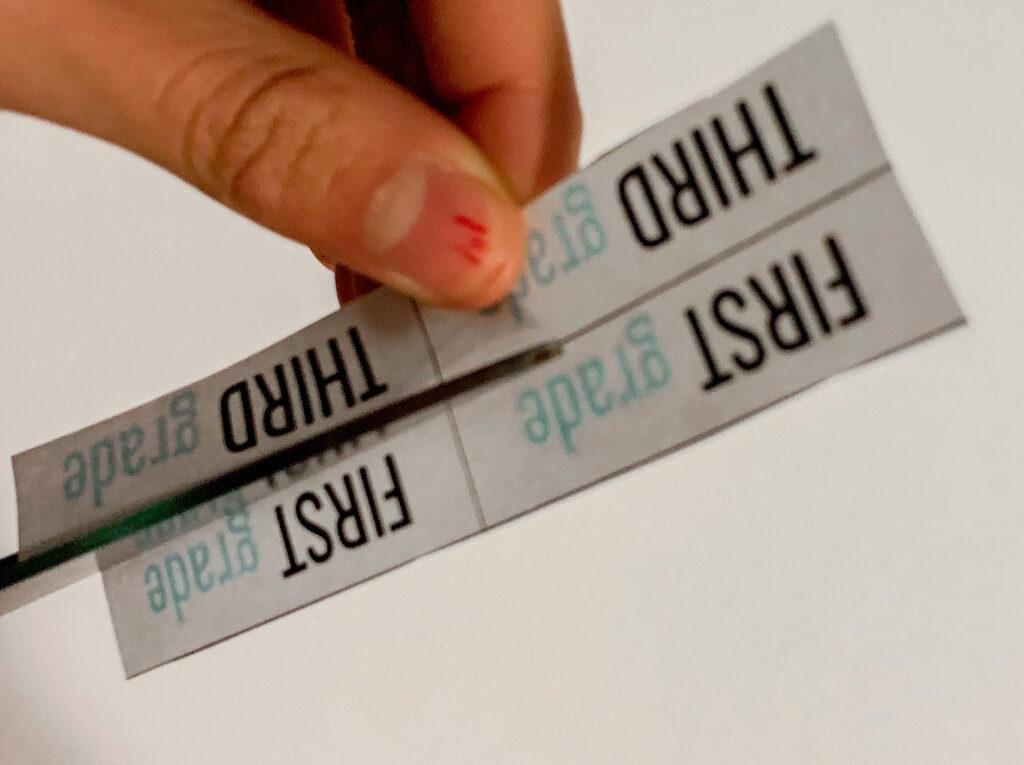
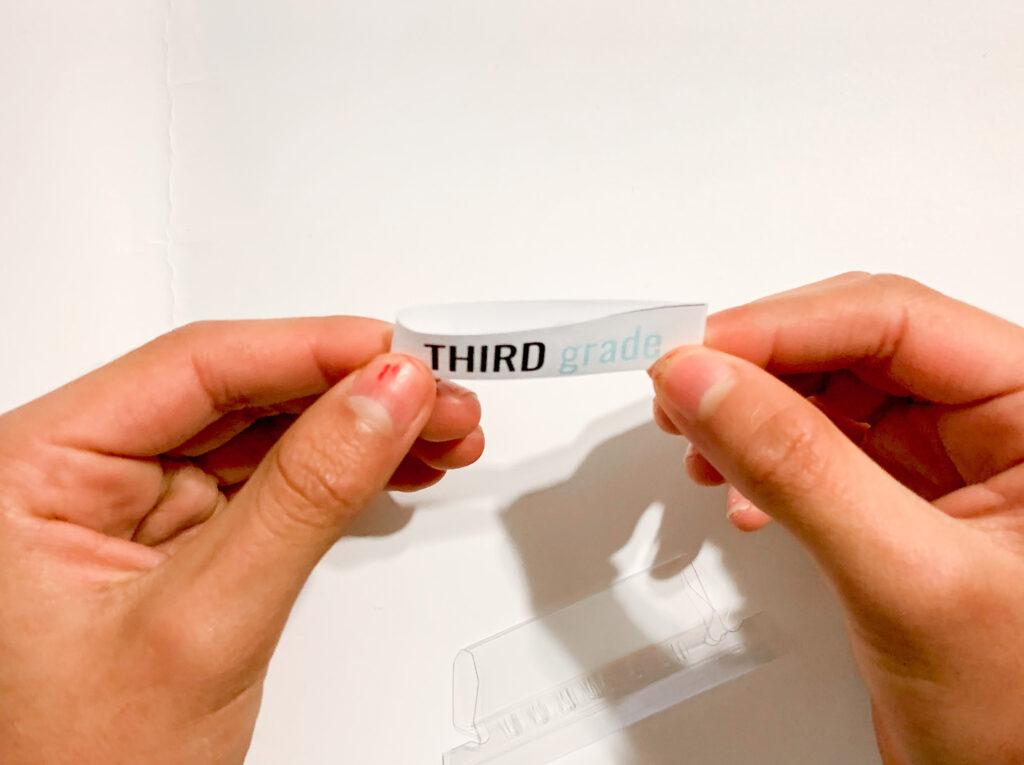


If you prefer different labels, you can also use a label maker, hand-write them, or make them yourself on your computer.
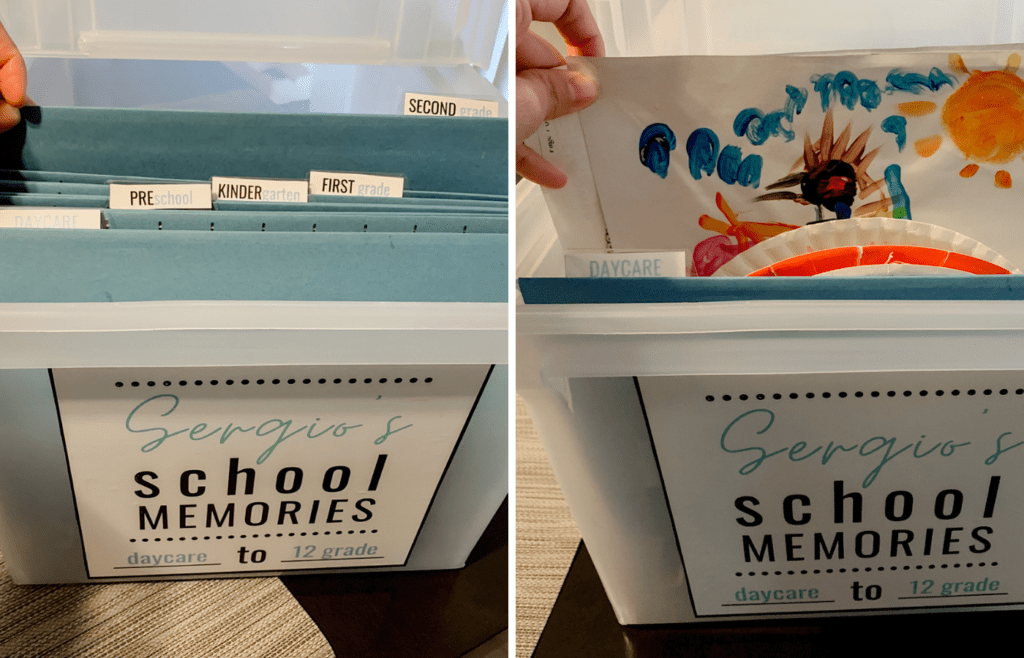
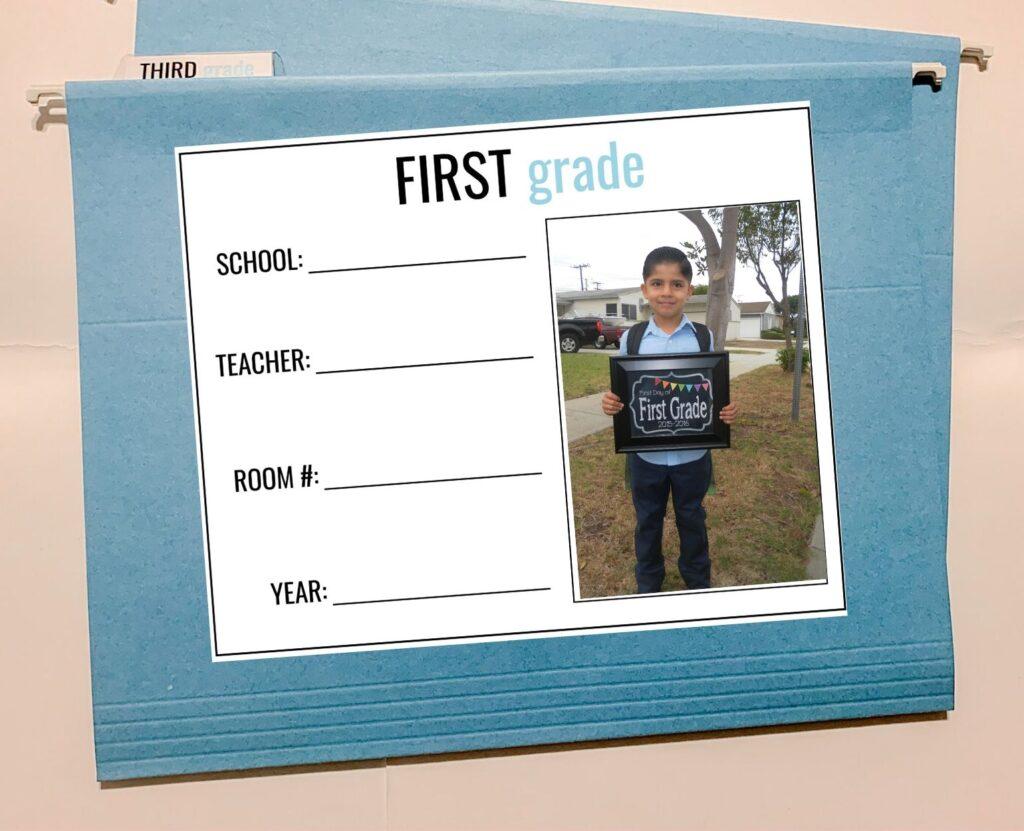
Step 4 – Apply Photos and Insert Folders
Apply photos and front covers to the hanging file folder, and insert the hanging file folder into the filing bin.
I used double-sided tape to apply the photos (4 X 6) to the cover page, but you can also use a glue stick or regular clear shipping tape.
Also, if you did not print your cover page on sticker paper, you can also use double-sided tape, tape, or a glue stick to apply your child’s cover page to the hanging file.
Lastly, insert hanging file folders into the filing bin.
And there you have it! Your kid’s school memory bin is all set! If you have more than one child, just repeat the steps for each child.
School Memory Box | Sorting And Organizing
If you are behind with your kids’ school paper organization, then these next steps are for you. But if you are not, then you are all set with your school memory box.
TIP: Work through one child at a time rather than doing them all at once.
Step 1 – Separate + Gather
Separate each child’s school papers into individual boxes. However, do not sort by grade yet, unless you already have it sorted that way.
For this step, you want to make sure you have all the school papers for each child gathered in one area rather than scattered in multiple locations or boxes. (Sorry, I forgot to take a picture of this step)
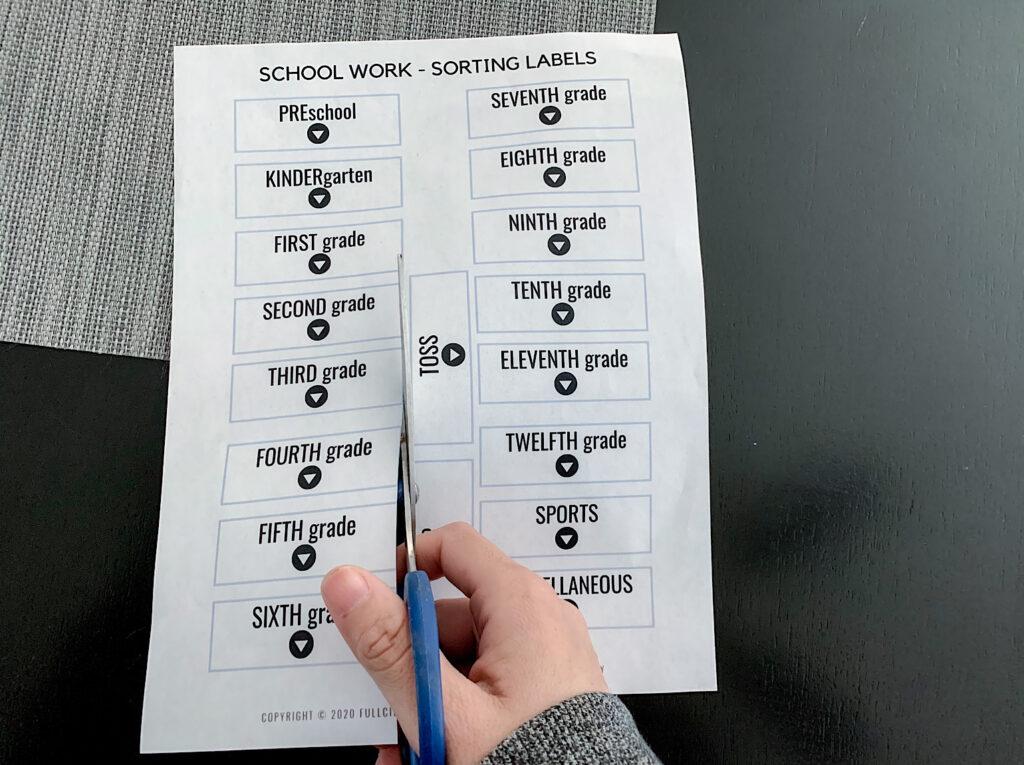
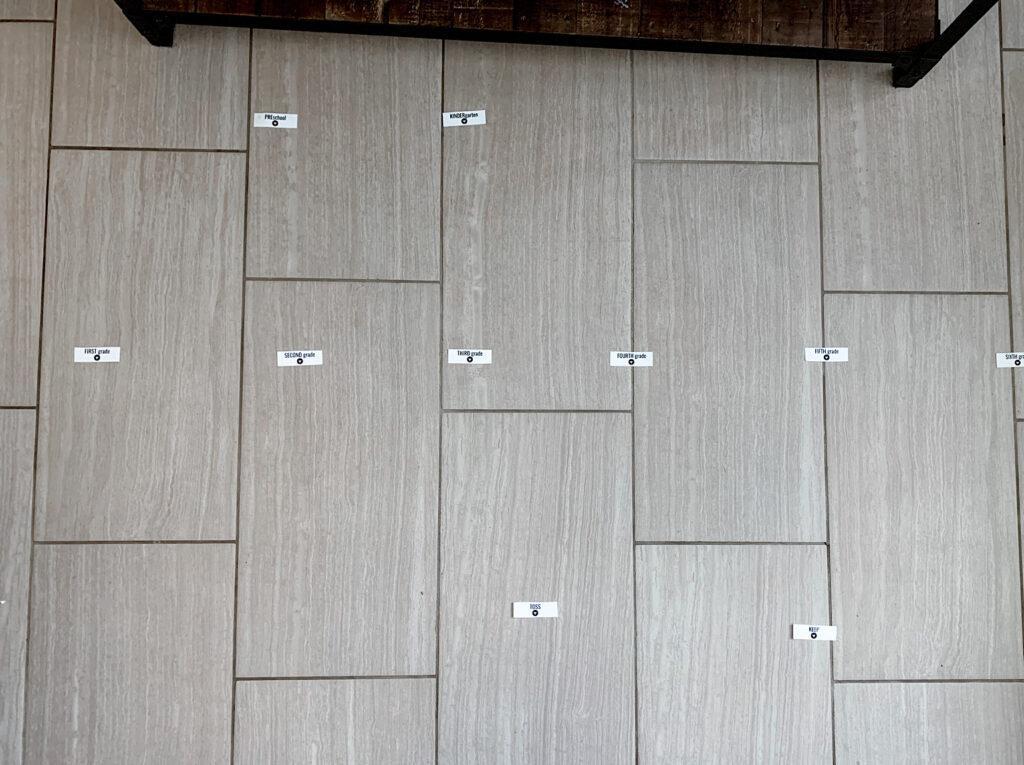
Step 2 – Label Work Area
You might want to set up in a low-traffic area, as this may take a few days. However, I cleared out an area and used my living room floor as it offered the most space to work with. And because it was in the way, it forced me to get it done faster!
Also, tape the labels about 12-14 inches apart to give yourself enough space for each grade.
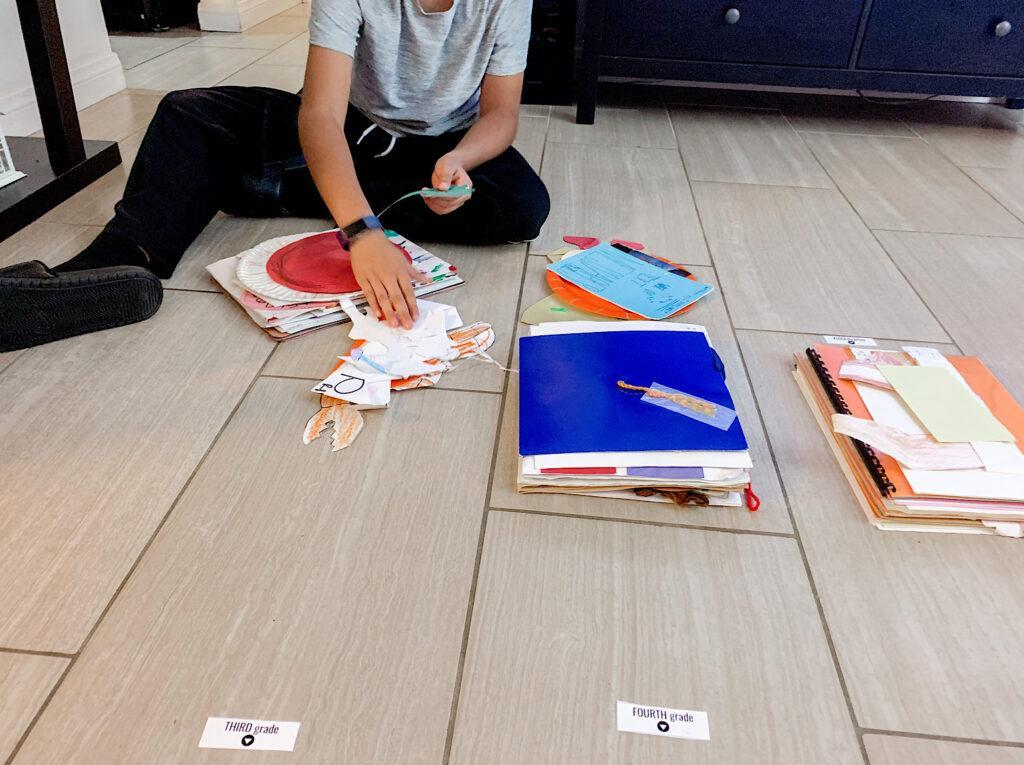
Step 3 – Sorting and Purging
Okay, brace yourself! Because here comes the tedious part.
I included my kids in this step because we found that it was something we needed to do together and that they should have a say on what to keep and what to toss—but to an extent, of course! Because if it was up to them, we would keep everything.
sorting
First, start by separating all the school papers by grade. Don’t worry about purging just yet.
Purging
Once you have all the papers separated by grade, start going through one grade at a time and decide what to keep and what to toss.
As you sort, keep in mind that you have limited space for each grade. So, you want to keep only school papers that are the MOST meaningful to you and your kids.
If you are unsure about any item at any point, put it aside, come back to it at the end, and make your final decision. While purging, just keep in mind that the more you keep, the less meaningful each item becomes. I know it is hard to let go, but in this case, less is more.
{Related Post: DIY Keepsake Bin | How To Create A Keepsake Bin To Store And Organize Your Child’s Memories}
What to Keep?
It’s up to you what type of school papers to keep. However, here are some examples of what you can keep if you are unsure.
- Artwork
- Drawings
- Handwriting work
- Certificates
- Poems
- Journals
- Programs from school events
- Projects
Large Projects
For larger projects, I recommend taking a picture of it and saving it to a USB flash drive. Create a separate folder for each grade within that ONE USB flash drive, and keep the USB in one of the files of the school memory box.
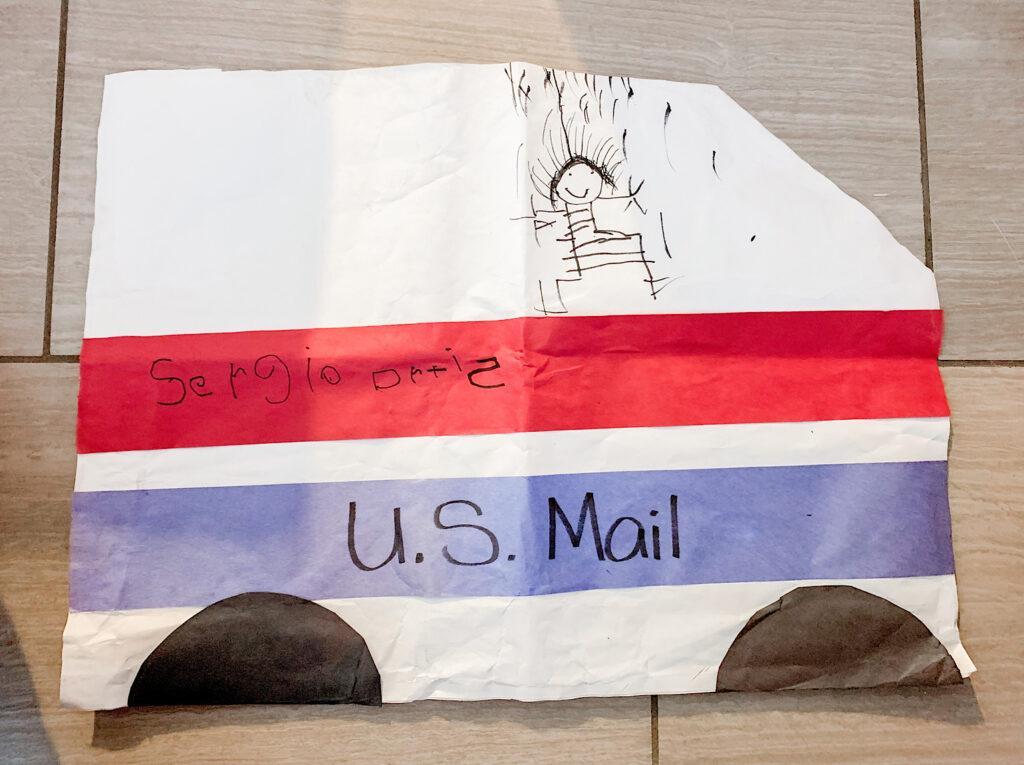
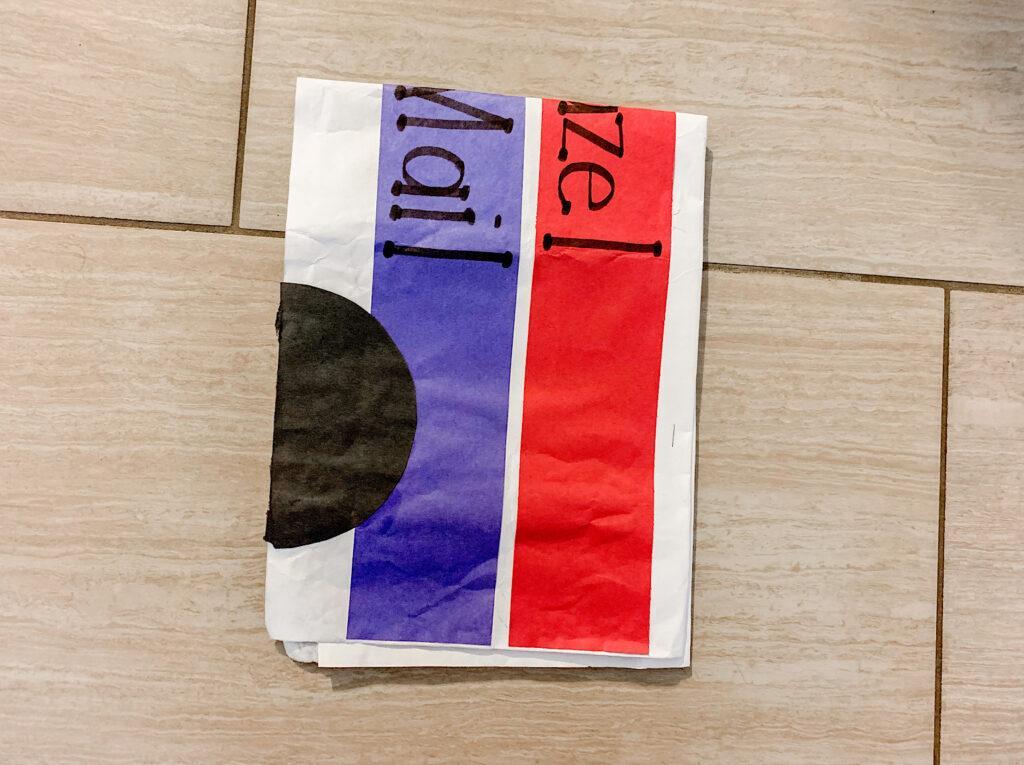
However, if you prefer to keep the originals, I suggest cutting the project to 8.5 X 11 or folding the item in half (as shown below). I used both these options, depending on what worked best for a particular item. Of course, this is entirely up to you and what you are comfortable doing. This is just what I did.
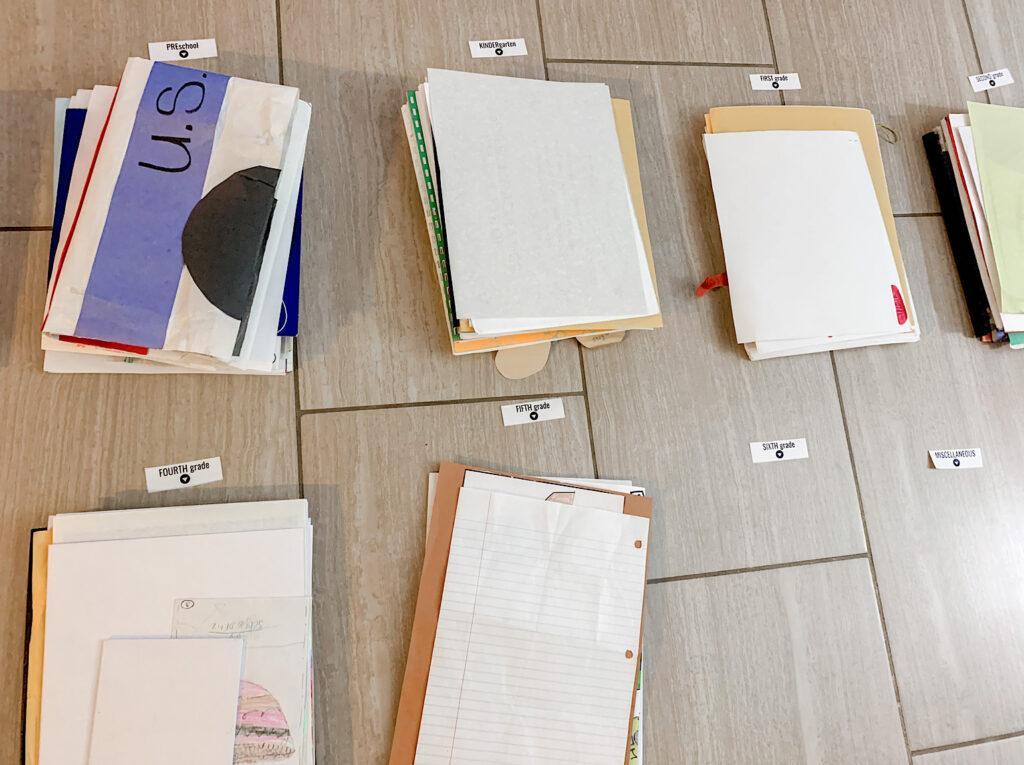
Step 4 – Organize by Grade
Organize the school papers in their designated hanging file folder by grade. Everything should be sorted, and it’s now time to file! File all that you are keeping into its designated, labeled folder, and make sure it all fits nicely. Once you have filed everything, you’re done!
Now everything has a place, and when your kids bring in school papers, you have a designated place for them—no more clutter!
School Memory Box | Maintaining the System
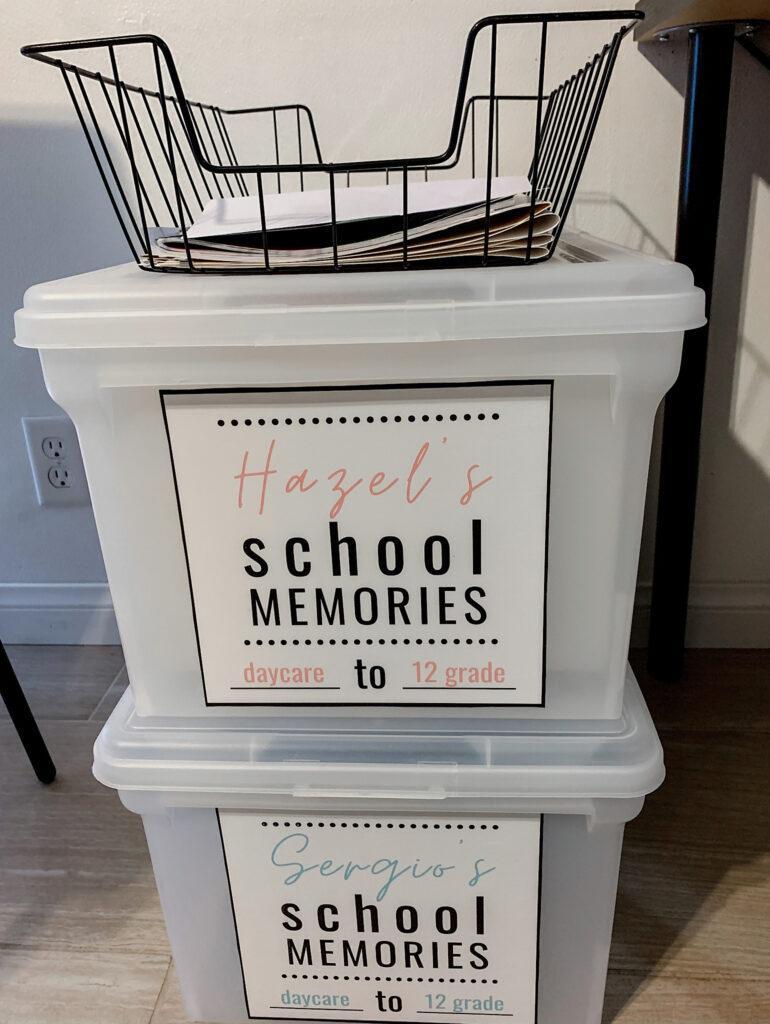
We keep the filing bins next to my desk, and it’s been working out great! We also use a wire basket, which we keep on top of the filing bins. When the kids bring in school papers, they place them inside the basket for me to review. I try to empty the baskets weekly or every two weeks, sometimes once a month.
NOTE: We don’t use the same basket for school papers that need to be returned to school. We use a hanging file desk organizer for that.
So far, we have been using this system for a little over eight months, and we are loving it! Also, I want to mention that prior to getting this system in place, we had no actual system. We used two big boxes where we stuffed each of our kids’ school papers/projects and stored them away in no particular order.
Unfortunately, we did this for YEARS, and that made it impossible to enjoy looking through their school memories. However, now, they look through their stuff all the time! So, if this is YOU, and you’re in the same boat I was, don’t think you’re too far gone. Because I got it done, and you can, too!
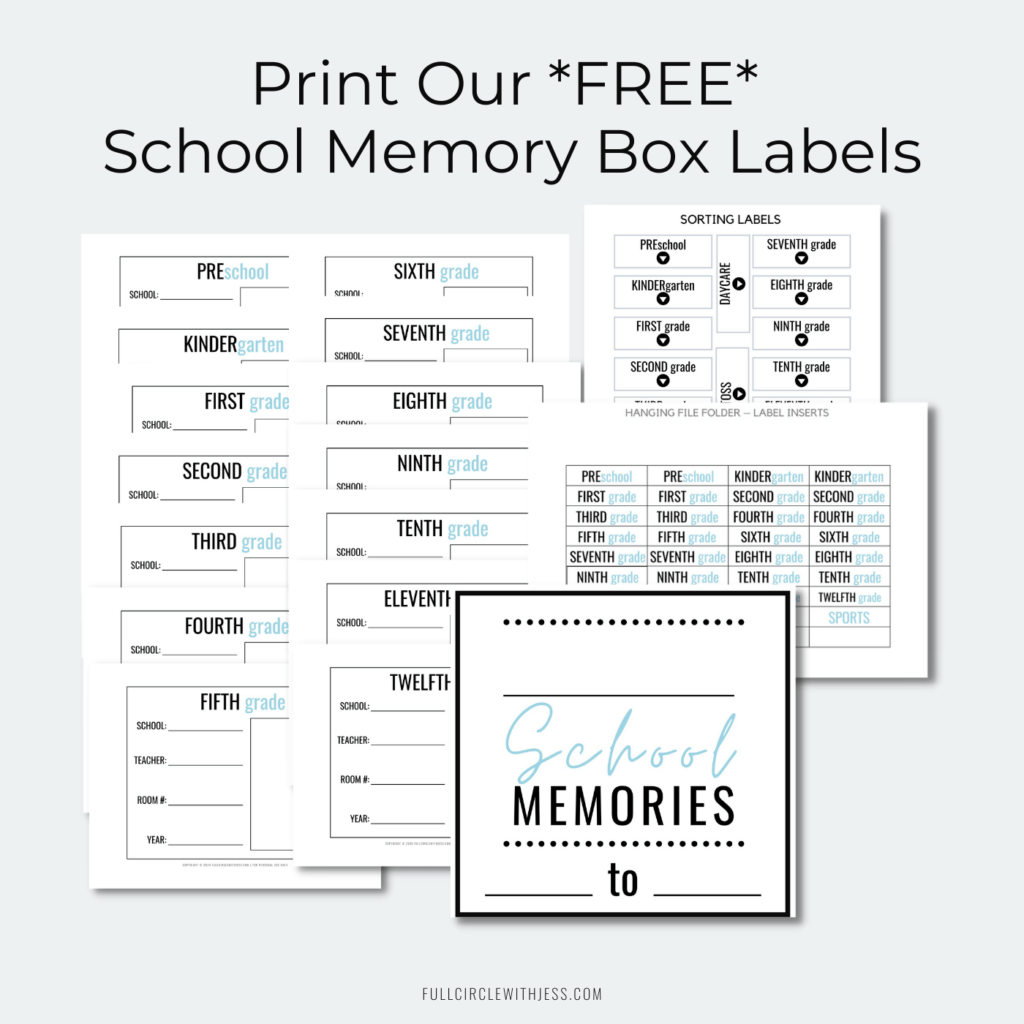
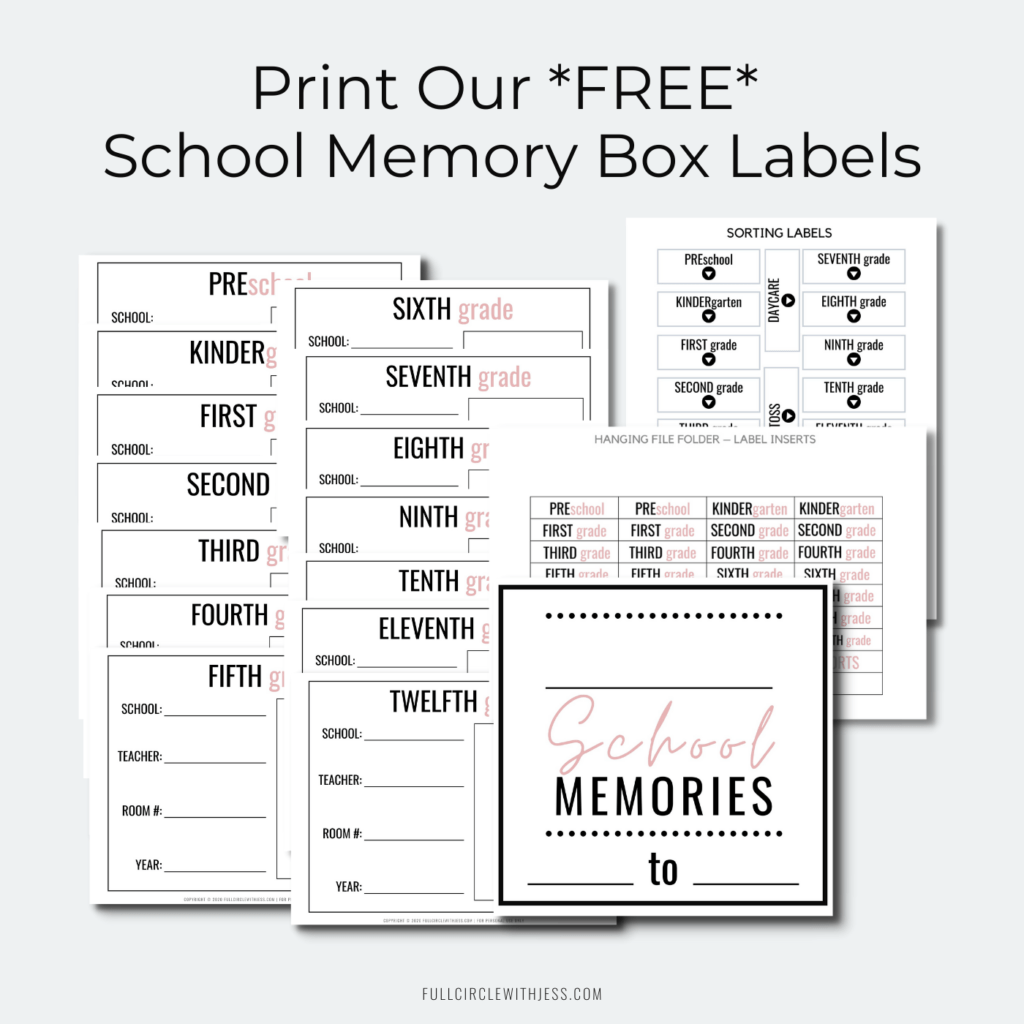
School Memory Box | *FREE* Printable Labels
Printing Instructions:
- Sorting Labels: Print on 8.5 X 11 printer paper
- Hanging File Folder—Covers: If possible, print on 8.5 X 11 sticker paper. If not, print on 8.5 x 11-inch card stock or printer paper and use clear shipping tape to attach it to the container.
- Hanging File Folder – Label Inserts: Print on 8.5 X 11 printer paper.
- Front Bin Label: Print on 8.5 x 11-inch sticker paper, if possible. If not, print on 8.5 x 11 card stock or printer paper and use clear shipping tape to attach it to the container.
Want to edit the template yourself? You are in luck! Due to popular demand, we have added these printables to our shop, and you can now edit our templates!
Click Here for Editable Memory Bin Printable Templates
Click Here for Editable Memory Bin Printable Templates
I really hope this system helps you organize your kiddos’ school papers for good! If you have any other ideas, share them below!
↓ Did you like this post? Pin it for later! ↓
This post was all about creating a school memory box.
Other Posts You Might Like:
Hi! Wondering if you could make the box labels for my children: Andrew (blue) & Aurelia (pink) please? Would you mind sharing which font you use for the folder tab labels please? TY!!!
Hello Adriana, sorry. I just saw your comment. I no longer make custom labels as I was getting a lot of emails asking me to make them and I just couldn’t keep up with them anymore. 🙁 I do have them available for purchase to buy the editable templates if you would like to be able to edit them. You can find the link on this post under the free ones. Thank you so much 🙂
oh and the font I used is Oswald. In the editable version we have available for purchase you can edit those labels too.
Thank you so very much! Making this as a baby shower gift for my daughter in law/ grandaughter!
You are very welcome! 🙂
Hi Jessica,
Would you be able to send the box front front label as an editable file so I could add my child’s name? Great ideas and thank you for sharing!
hi,
I dont have it as an editable file at the moment.
But feel free to send me an email and I can add the name you need on my end and email it back to you.
email is [email protected]
Thanks this is such a genius idea!
Thank you! Glad you found it helpful. 🙂
Hi Jessica
This is a Amazing idea! Would you be able to send me a front label in pink with the name AVA? I here is my email: [email protected]
Thank You
Ava’s
Hi Amanda! I am so happy you liked it! If you are not in a hurry, I can try to send it by the end of today?