Have you been overwhelmed with figuring out how to best store and organize your kids’ keepsakes, and are you looking for something you can put together yourself? Then you are going to love this DIY keepsake bin idea!
So, a few weekends ago, I was purging our garage and stumbled across my kids’ memory keepsake boxes. I was shocked that I had collected about 2-3 bins/boxes for each of my kids. I was shocked because I had no idea I had kept that much stuff. The fact that I had “stumbled” upon these keepsake boxes/bins that I had not looked through in years pushed me to realize that it was time to purge through these boxes and set up an organizational storage system to help me organize and store these items functionally.
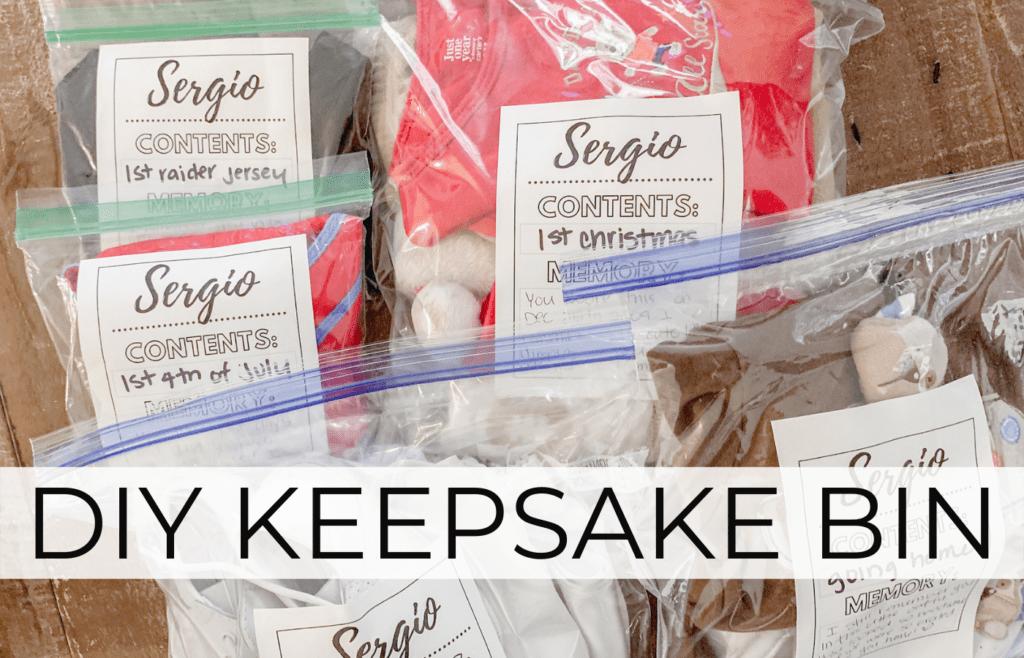
That said, I got on Pinterest and came across this idea from lovelylittlesnippets.com. I loved how she used zip bags to organize and store keepsakes in a bin. The moment I saw this idea, I knew it was what I had been looking for. It is an easy and budget-friendly way to organize all the contents in keepsake bins. Because this way, the keepsake items aren’t just shoved into bins in no order. Instead, they are nice and organized with zip bags and labels.
So, if you have been searching high and low for the best keepsake storage ideas you can make yourself, keep reading! Below, I share how I made each of my kids a DIY keepsake bin. I also included the labels I used so you can download them for free!
This post is all about how to make a DIY keepsake bin.
How To Make A DIY Keepsake Bin
Supplies Needed
- Large Bin (I used size 18 gal.)
- Gallon Size Zip Bag
- Sandwich Size Zip Bag
- Space Saver Bags (second option here)
- Tape (to apply labels to zip bags). You can also print labels on sticker paper.
SHOP THE POST

Print Labels
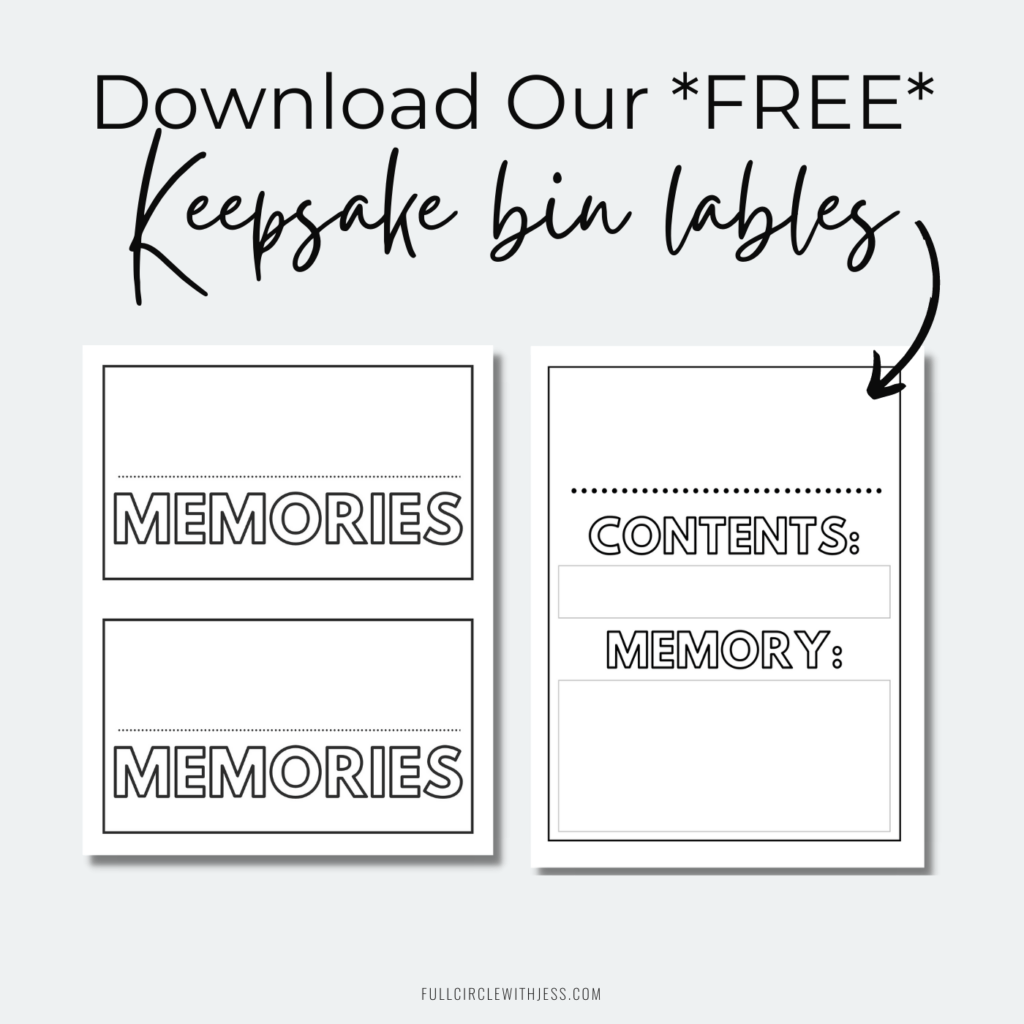
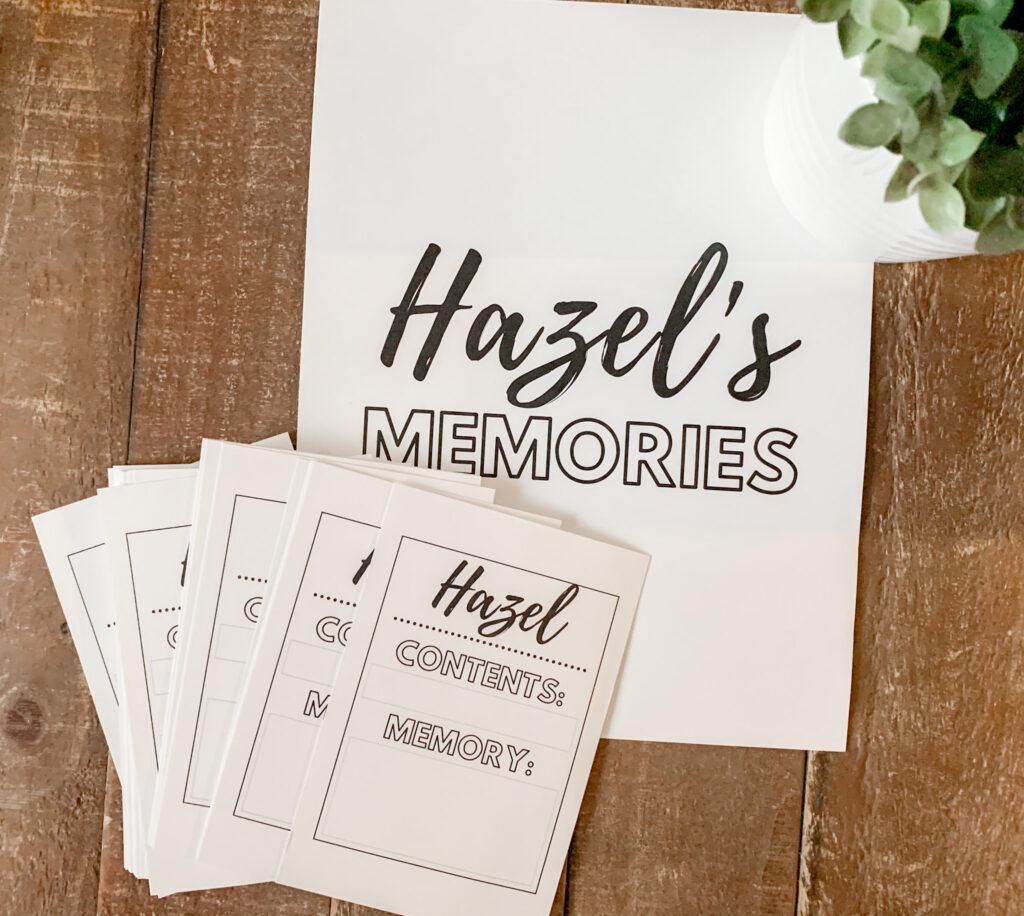
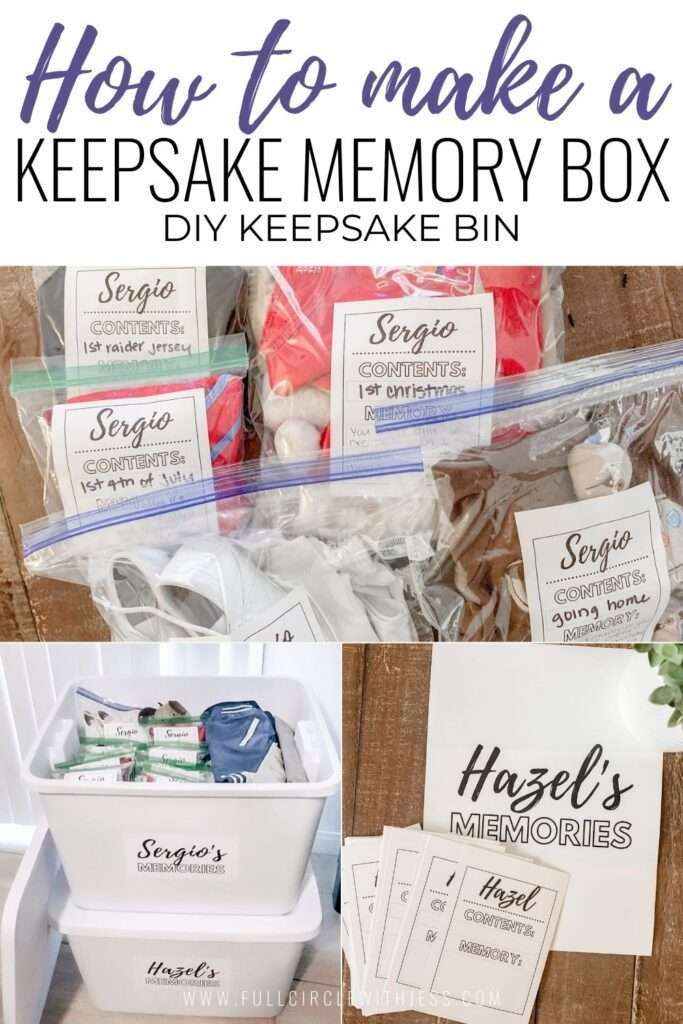
I made two different labels. One was inspired by lovelylittlesnippets.com bag labels. However, I added a section to write a brief memory about the bag’s contents (as shown below). I also made a second label that says “Hazel’s Memories.” The second label is for labeling the outside of the keepsake bin.
The free downloads obviously don’t have my daughter’s name, haha! I left a space so you can include your child’s name.
I decided to add the “memory” section to the bag label because memories are fleeting. The older we get, the harder it is to remember things from our past, as fresh memories replace old ones. So, I thought that adding that little section to write a brief memory would be nice to look back at later once your kids are grown up and some memories become harder to remember.
Suggestions Of What To Keep
What you keep inside your keepsake bin is up to you, but here is what I have kept and plan to keep in each keepsake bin.
- Birth and hospital items
- Baptism items
- Any “first.” For example,
- First birthday, first time at the beach outfit, first Christmas, etc.
- Items that remind you of any memorable moments
- Favorites and/or special items. For example:
- Favorite pieces of clothing, favorite shoes, favorite blanket, favorite toy, etc, items that remind you of important milestones
How To Store And Organize Keepsake Items
Depending on how many items you want to store, use a gallon-size or sandwich-size zip bag. For example, I used a large gallon-size bag for my son’s baptism items since it was needed to fit his little shoes. But then I used a sandwich-size zip bag for his 4th of July outfit because it was just a small one-piece.
I tried to store everything inside the zip bags. However, for anything too large, I just put it in the bin without a zip bag. Things such as special blankets or stuffed toys that my kids loved when they were toddlers, things like that, I figured, could stay without a bag. (Update: Larger items such as blankets, stuffed animals, or clothing that weren’t attached to a particular event or memory, I put into a space-saving bag. This helped free up more space in each bin)
I categorized everything else, inserted it into a bag, and labeled it. (as shown below)

{Related Post: Step-By-Step Guide to Make A School Memory Box | *FREE* Printable Labels Included}
Add Bin Label
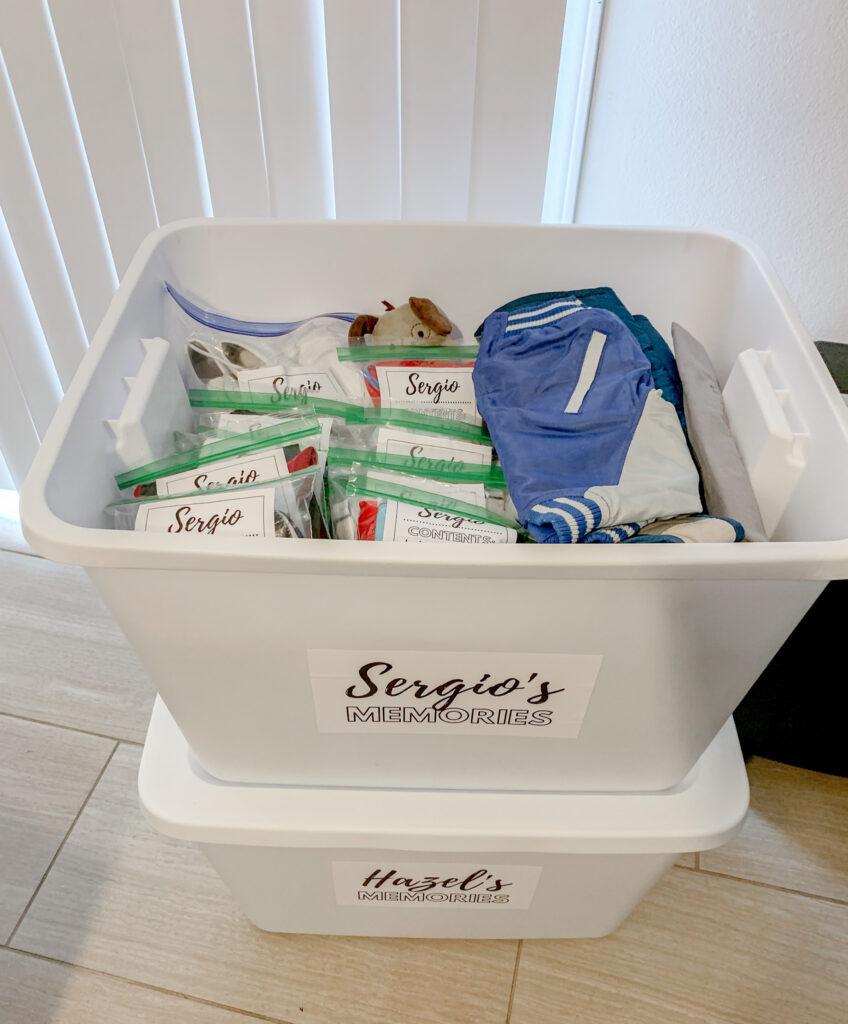
For the outside of the bins, I just added a label in the center of the bin.
After purging and getting rid of a lot, my kids had one bin each, which is fantastic!

Here are the finished products:
To say I am happy about the results is an understatement! I wish I had started this when they were babies. It would have saved me hours of sorting and organizing years’ worth of stuff! But either way, it’s done and organized now, and it’s the best feeling ever!
As much as I love keeping things that my kids made, etc., I realized that one day, they will inherit these things I find so precious.
However, THEY will be the ones who will one day have to sort through these bins/boxes and decide what to do with it all. So, saving things shoved into boxes in no particular order is not fair for them. Why should they ever be burdened with deciding what to do with it all? So, I am so happy I took the time to do this, and I love how it turned out!
↓ Enjoyed this post? Pin it for later! ↓
This post was all about how to make a DIY keepsake bin to store and organize your child’s memories
Other Posts You Might Like:
I have 6 kids so I have a box for each one. My thing is I don’t know where the best place to store these in my home. I now have them in my small walk in closet and they are in the way. Any ideas?
Hello Stephanie! If you have space in the garage, basement, etc.. I would keep them there. I keep my kids’ bins in our garage now. Just make sure you put them where you can have easy access to them.
I now keep a small basket in my kids’ closets for donations and another one for keepsake items. That way, I don’t have to have the big bin inside the house. And when the basket is getting full or I have some time, I go and put those items in the keepsake bins in the garage. I do try to go through the bins at least once a year to see if I can purge anything from them. This helps me ensure I don’t over keep items and stick to one bin.
Hello 👋🏻 love the idea!! is it safe to store cloths in zip locks for many years? I thought cloths had to be wrapped up in acid free tissue paper. I prefer the zip tho
Hello Diana 🙂 I am not 100% sure. I’ve had it like this for a few years now and no issues so far. I did squeeze the air out of each bag before sealing it so maybe that has helped. But only time will tell lol. I think this can also depend on the humidity where you live. I would also make sure clothing is 100% dry before storing.
LOVE this idea! How large of a bin did you use? Also, the link to the labels is not working- it is directing to the Christmas shopping download. Would I could get the correct download?
Thank you!
Hi Lynnsey, I am glad you liked them. I have fixed the error with the link for the printable. Should work now. And for the size of the bins, they are 18 gallons.