This post is all about how to organize school photos.
Are you looking for ideas for how to organize school photos either for yourself or your children? Here is a super simple yet functional way to store, and organize school photos. And you can use this idea to organize sports and studio photos too.
For years, I struggled with figuring out how to best organize my kids’ school photos. Because I definitely didn’t purchase them with the intention of keeping them in a box somewhere, where we wouldn’t be able to look at them often, or ever! However, unfortunately, for many years, that is exactly how they were stored. Just piled up in a box in the garage. And it wasn’t just their school photos, it was also all the sports and studio photos. 🙁
And having them in a box in no particular order for all those years made it impossible to enjoy them and we hadn’t even looked at them in years! Well, a couple of years ago I finally stop procrastinating and took the time to organize all of their school photos, as well as their sports and studio photos, and I am seriously so happy I finally got it done.
So if you are looking for an easy way to organize school photos, you’re tired of having them stored in a drawer or a box somewhere, and you’re ready to tackle this organizational project, I got you! In this post, I am sharing exactly how I organized the photos once and for all!
This post is all about how to organize school photos. (+ sports and studio photos too)
How To Organize School Photos (+ Sports And Studio Photos Too)
Supplies Used
- Photo Album – I used one for each child.
- Sheet Protectors
- White Cardstock – Size 8.5 X 11
- Glue Dots – You can also use tape if you prefer. However, the tape may ruin your photos if you ever try to remove them from the cardstock.
- Dividers
The Steps
Step 1- Consolidate All The Photos In One Place
Gather all photos in one area. The kitchen table is probably the best space since you will have to sort photos and will need the space.
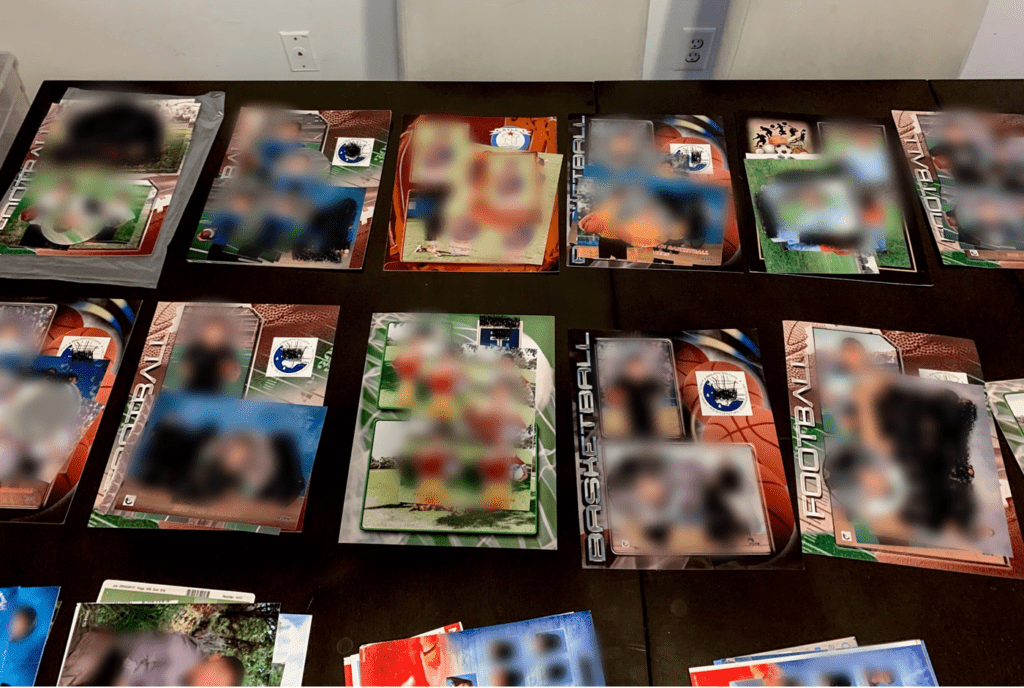
Step 2- Lay out The Photos In Desired Order
Layout the photos in the order you want to insert them into your album. If you are only organizing school photos, then by year would probably be the best way. If you are also including sports and studio photos, you can do by year and type as well.
For example, I kept all the photos separated by type, then separated them by year too. Because I also included my kids’ sports and studio photos in this same album. So I ended up with three groups/labels – School, Sports, and Studio photos.
Step 3 – Choose Photos
Decide which photos and how many you want to include in the album of each year, pose, etc. Depending on what package you order, you may have extra repeated poses in a variety of sizes. So in this step, I would say, go with what works for you and include whatever photos you prefer, and arrange your photos in whatever way makes sense to you. There is no right or wrong way to do this. You can include duplicates, and wallets, create several pages for each type of photo, etc.
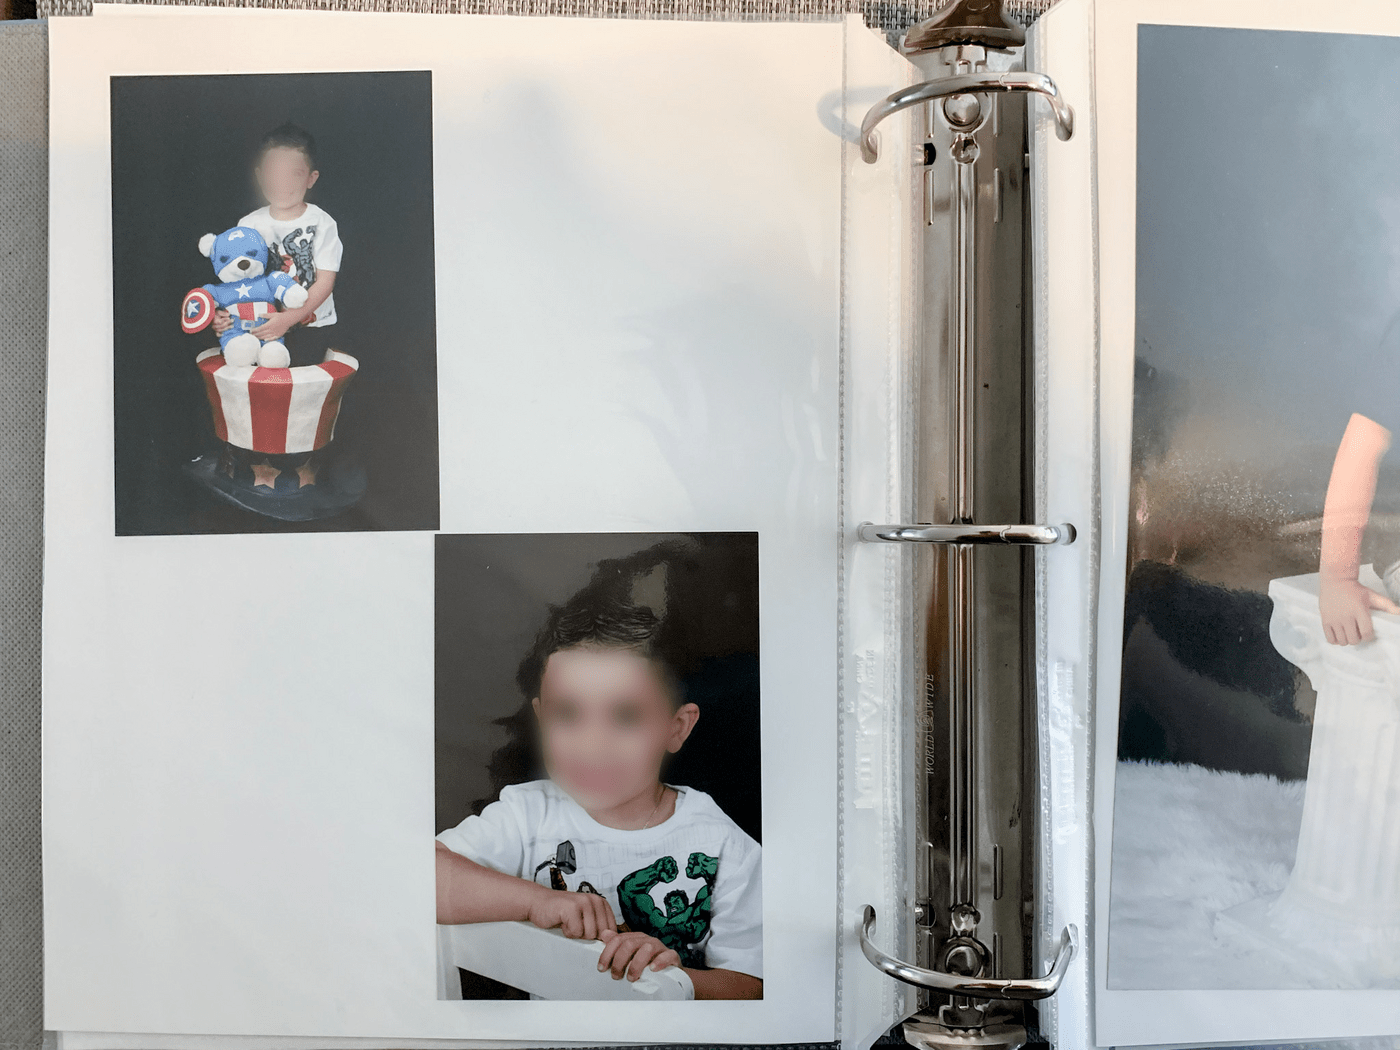
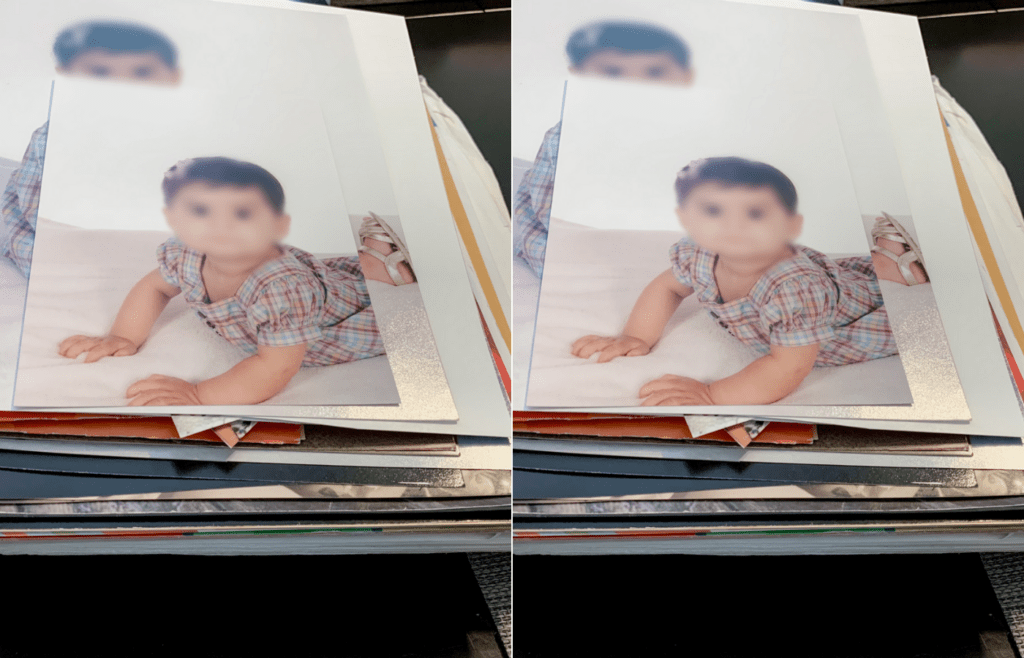
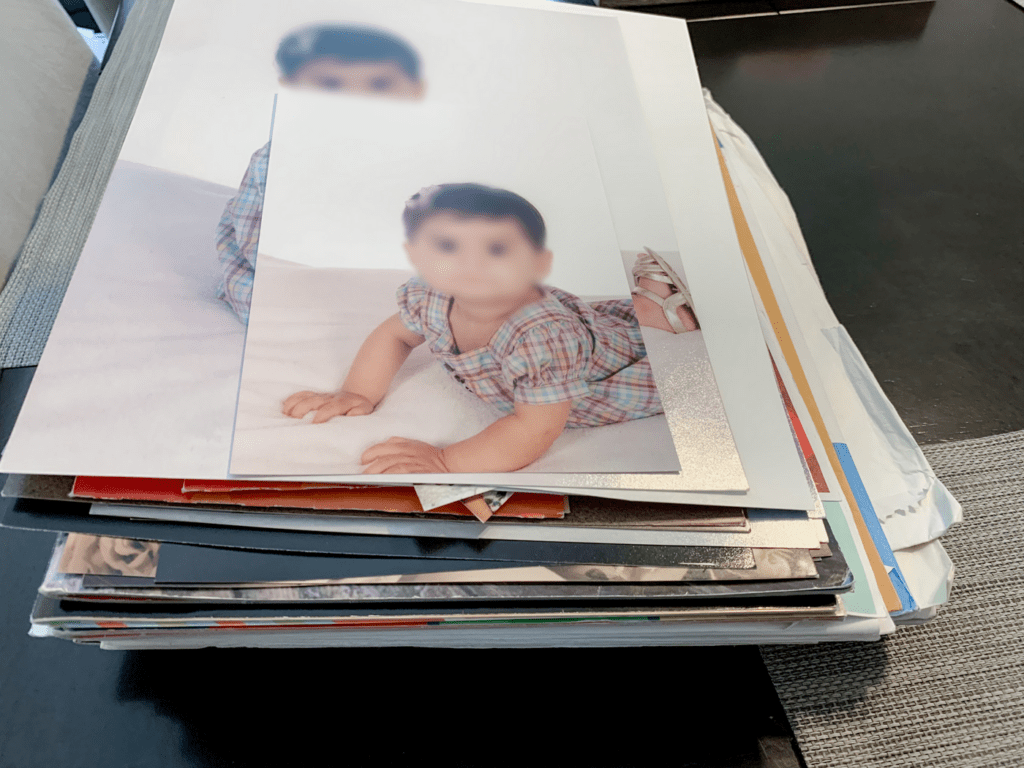
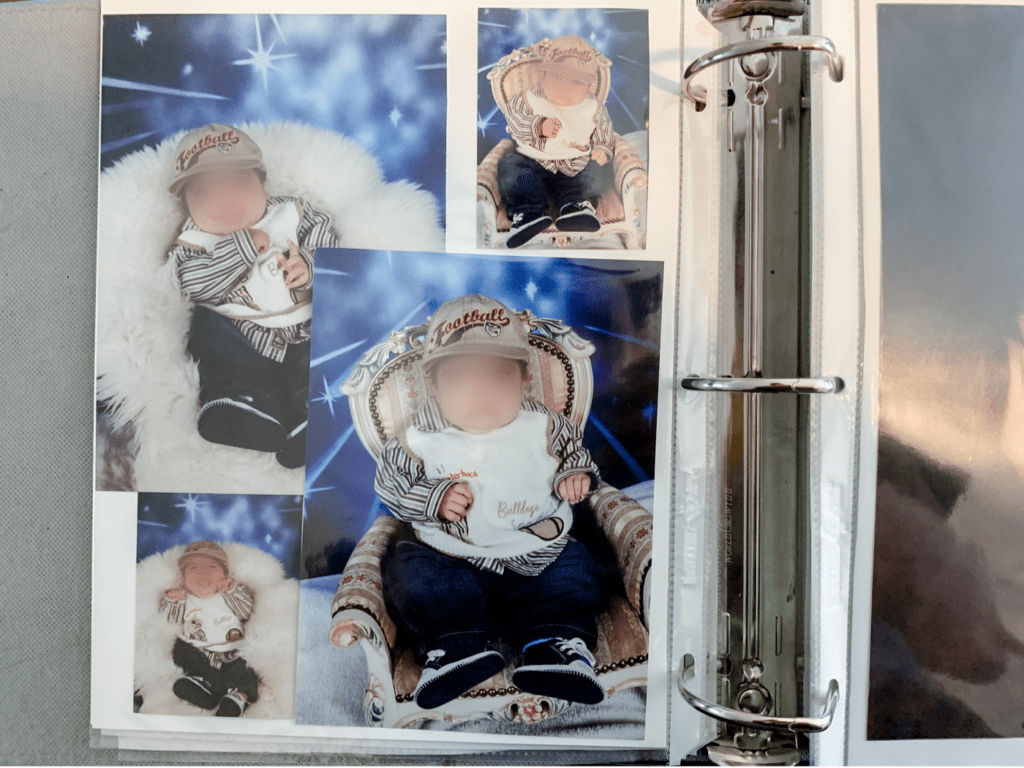
With that said, here is what I did. I generally did not include any repeated poses in the album. Unless there was a year that I only had a few photos in total, even if they were the same pose, I added them all into the album. And for any photos that contained a variety of sizes or just wallet photos, I arranged them in whatever way they fit best. (example below)
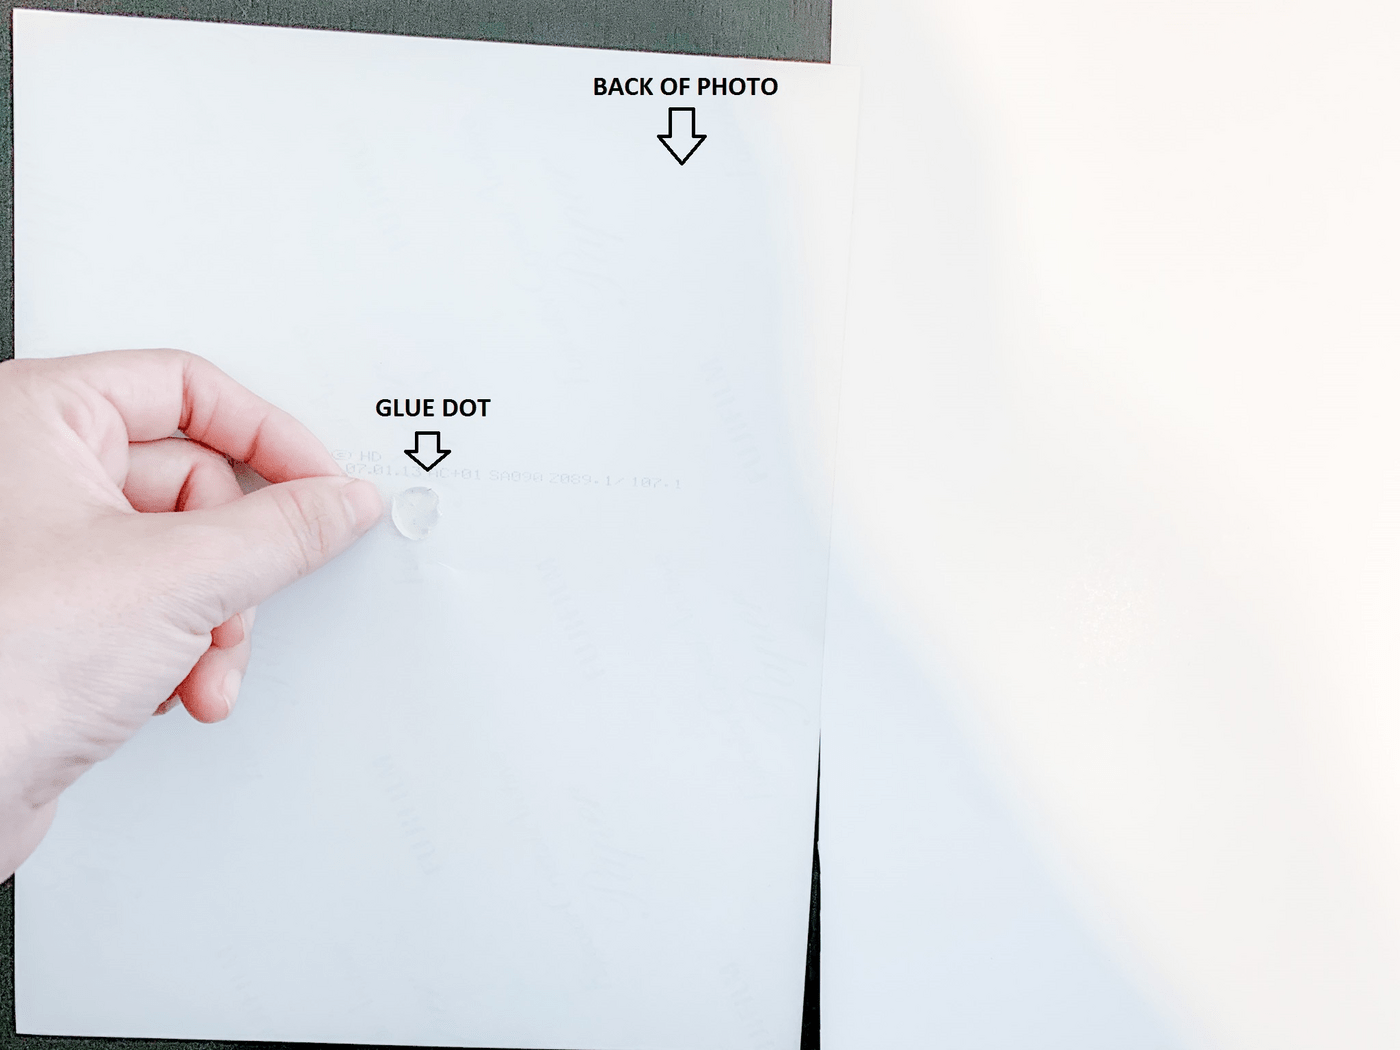
Step 4- Use Glue Dots To Secure The Photos To The Cardstock Paper
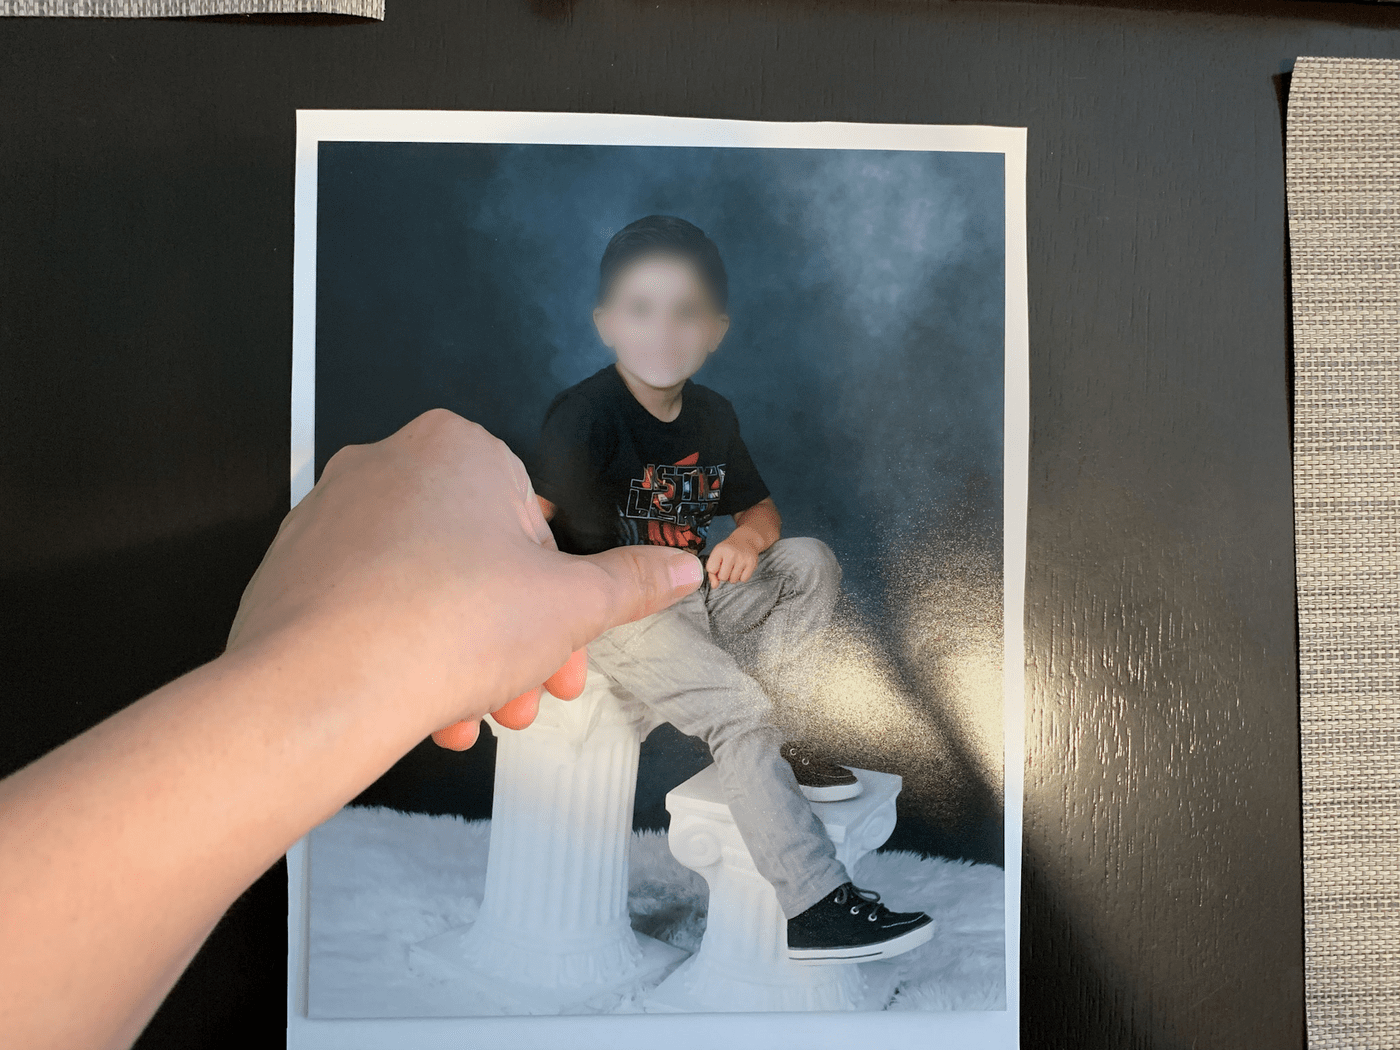
Once you have chosen all your photos, start to glue photos to the cardstock paper. You can also use double-sided tape but that may cause damage to your photo if you ever try to remove the photo from the cardstock in the future.
I used 5 glue dots for large photos, one for each corner and one in the middle. And for smaller photos, I used two glue dots for the top and bottom of the photos. And that worked really well to keep them secured to the cardstock paper.
Repeat this step until you have glued and arranged all the photos on the cardstock papers.
{Related Post: Step-By-Step Guide to Make A School Memory Box | *FREE* Printable Labels Included}
Step 5- Insert All Pages Into Sheet Protectors And Photo Album
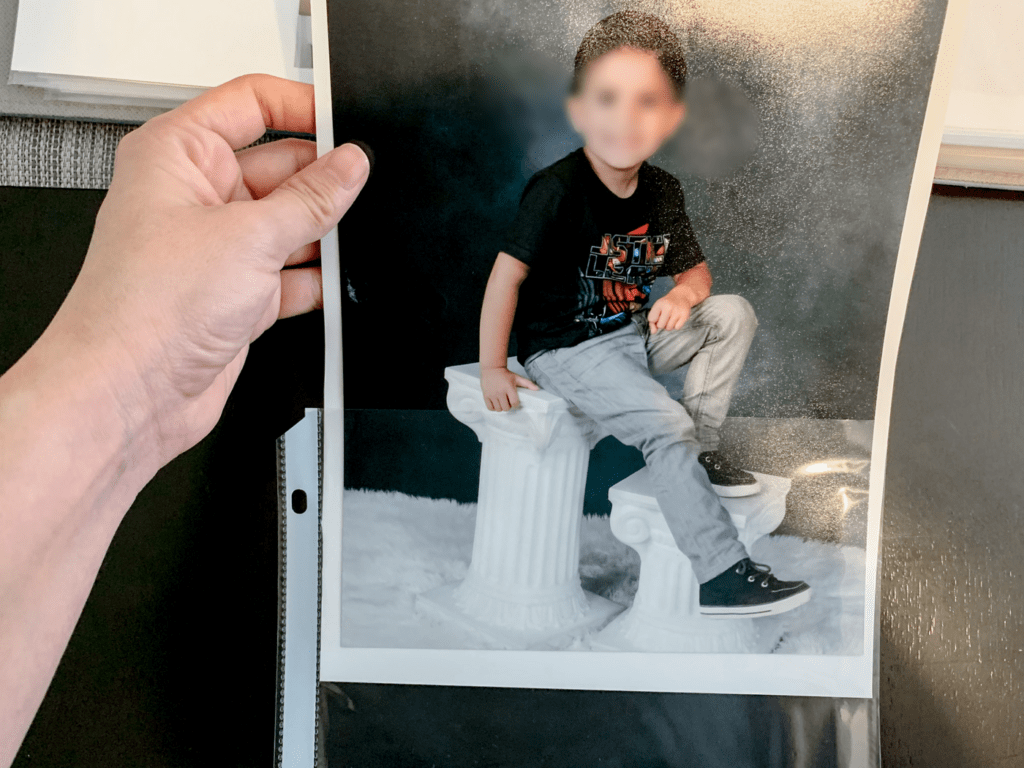
Once all your photos are secured and arranged as desired on cardstock paper, just insert them all into sheet protectors and put them in the desired order into the album.
Step 6- Decide On Label Tab Name And Create Them
If you are only organizing school photos, then you can use the divider tabs to separate the photos by year if you’d like.
However, if you are also including sports and studio photos you can do what I did which was to create three dividers only and separate photos by type. Mine say school, sports, and studio. And within each section, I organized the photos by year. But I did not add any dividers to that. I just put them in that order in the album.
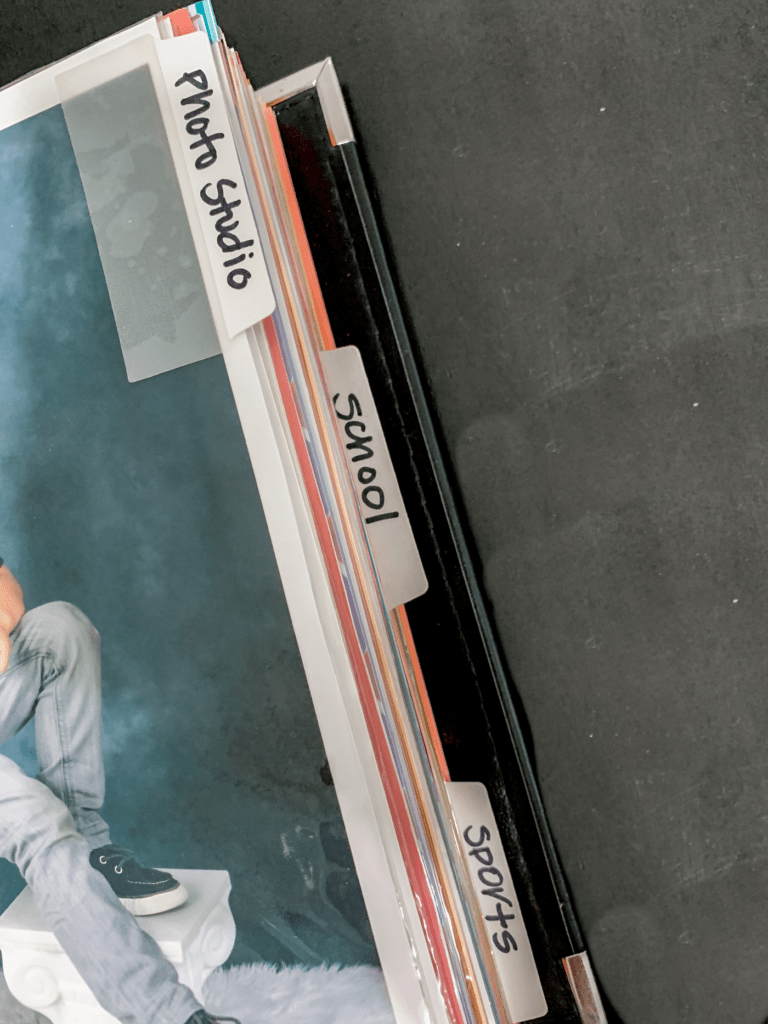

And that’s it! Trust me once you finish this it will feel so good to have a designated place for all the school, sports, and studio photos where not only will they stay protected but you’ll be able to access them, look at them, and enjoy them for years to come. Totally beats having them in a random drawer or box collecting dust.
How To Organize School Photos | Display Ideas
Need ideas for how to display school photos at home? Below, I am sharing some easy ways you can display your kids’ school photos at home that are super simple and take up very little space. So these ideas work whether you have a lot of space to display photos or you’re dealing with limited space.
How To Organize School Photos | Q&A:
What Do I Do With Bulky Wood Sport Photo Frames?
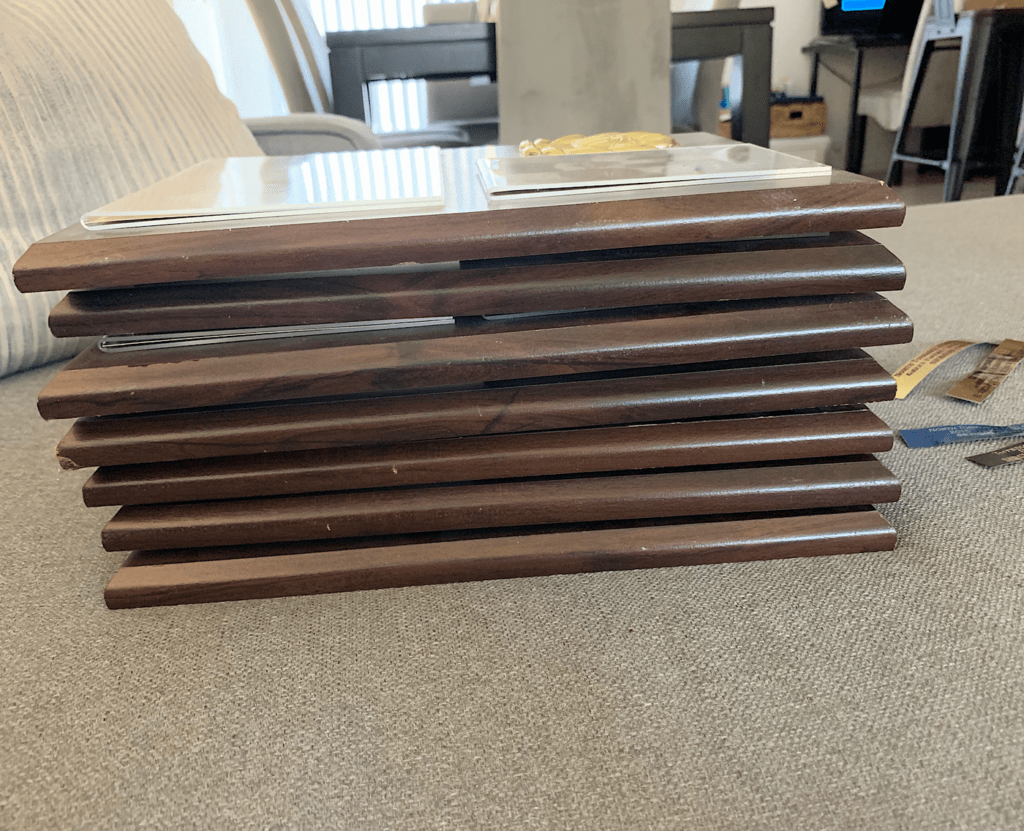
When my kids had just started sports, I have no idea why, but I would always buy those huge bulky wood frames. That left me with so many bulky wood frames and I had nowhere to display them, nor did I want to because they are actually kinda ugly, haha! I decided to donate the wood frames and take out the photos. I added the photos to the photo album I am sharing about in this post. So all of my kids’ school, sports, and studio photos are in one central place.
What If I have Duplicates Of Each Pose?
For other extra repeated poses that I did not include in the album shared about above, which were mainly wallet-size photos, I labeled and organized them by year and put them into a zipper pouch (one for each child). I only kept a few of each pose and shredded the rest because the reality is I will never need 25 wallet photos of the same exact pose. It was just too much to keep. And If I had any repeated poses of large photos that didn’t fit into the album, I also put them into the zipper pouch but only kept one or two of each pose and shredded the rest.
And there you have it! Hope you found this school photo storage and organization idea helpful! Do you have additional questions that I didn’t answer? Ask them below and I’ll get back to you as soon as possible!
This post was all about how to organize school photos.
Other Posts You Might Like:
- How to Organize Kids’ Memories | 5 Must-Try Organizational Systems That Will Help You Organize All Of Your Kid’s Memories For Good
- Portable Homework Station | 7+ DIY Portable Homework Station Ideas To Help You Prepare Your Kids For Back To School
- Step-By-Step Guide to Make A School Memory Box | *FREE* Printable Labels Included



How did you label them? I’m really word about being archival-safe but want to include grades and label students and teammates in group pic. How did you incorporate that info into your albums without harming the photos? I can’t seem to figure out where it would fit into the album.
Hi! I would use a sticky note, write the information you want to include for each photo and stick it to the back.