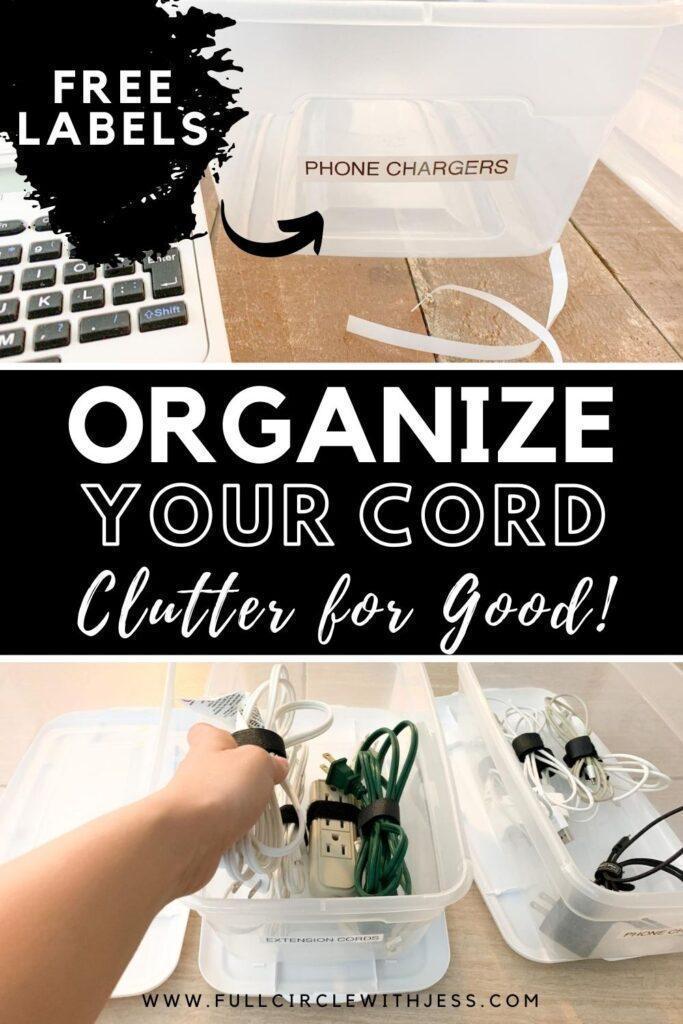
This post is all about how to organize pesky cords.
This is a project that had been on my to-do list for months!
And really, I had not done it because I was dreading the time it would take me to get through all the cords, declutter and organize. But when I finally did it, I was so relieved and I only regret not doing it sooner!

BEFORE PICTURES
As you can see, I had a lot of cords and electronics to sort through. Can you see why I put it off for so long? Yikes!


Below I walk you through the process I took to complete this project.
HERE IS WHAT I USED
- Containers
- Label Maker
- Cord Ties (large)
- Cord Ties (small)
RECREATE THIS SPACE
BEFORE GETTING STARTED
One thing I forgot to mention above is to have a place in mind to take unwanted cords to recycle once you’re done with this project. This way you can finish the entire project from start to finish.
I would call a few e-recycling facilities near your area and see where it is most convenient for you to take your cords and electronics for recycling. Some facilities charge a recycling fee, and others don’t. So call more than one place to make sure you’re getting the best deal.
Okay, NOW here are the steps for organizing your cord/cable clutter…
STEP #1 – CONSOLIDATE ALL THE CORDS IN ONE AREA
Start by collecting all your cords from all around your house into one large container/box, or pile.

STEP 2 – Sort and Purge Cords/cables
Start pulling out each cord, one by one, and determine what each cord is for and what should go to recycle.
At the same time you’re sorting and purging start making categorized piles with the cords/cables you’re keeping. Group similar cords together.
Continue doing this until you have gone through every single cord/cable. This is the part that takes the longest, but just push through you’ll be happy you did it once it is complete! I promise!
STEP #3 – ROLL UP AND SECURE EACH CORD
Roll up each cord individually and secure it with cord ties.

STEP #4 – LABEL CONTAINERS AND CORDS
Then you’ll want to label each container. Labeling is a must in my opinion. Not only will it look nicer with labels, but adding labels will ensure the cords/cables will stay organized for good.

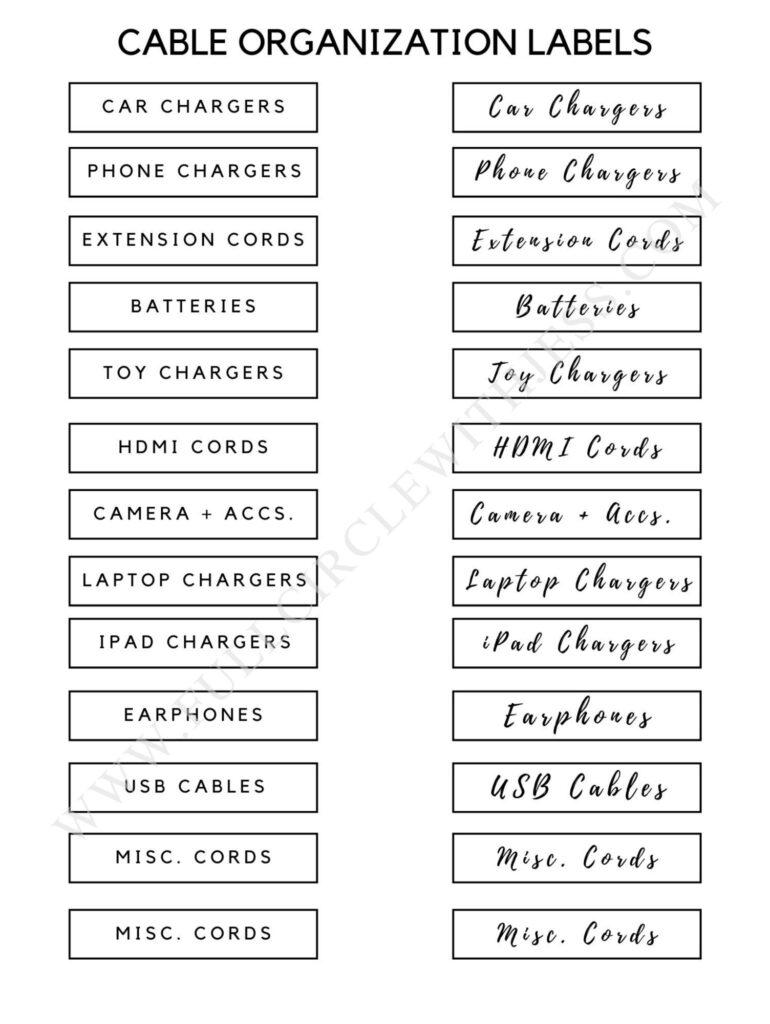
If you don’t have a label maker, you can make your own labels with paper, pen, and packing tape. I also created some generic ones you can download and print linked below.
And wait… we cannot forget to label those cords! This way anyone who used the cord knows exactly what it is for and where exactly to put it back when they finish using it.
Note: I would skip labeling any cord that is very obvious what it is for such an extension cord.

STEP #5 – LINE UP THOSE CONTAINERS
Line up your containers and start putting each cord in its designated container. Once all your cords are in their designated containers, put the lids on, then store them in a convenient area in your home where you have easy access to them. And you’re all set!

Results
What a difference, right?

PRINTABLE

If you give this a try, come back and let me know how it turned out for you! I would love to hear about it!
Also, I have an entire highlight of when I worked on this project over on my Instagram, if you would like a visual explanation/motivation instead, then that highlight is a must-watch!
↓ Liked the post? Pin it for later! ↓

If you are on an organization kick – here are more posts you may find helpful!
If you’re looking for organizational products that will give you the most bang for your buck, check this post out!
I also have several posts to help you organize your kiddos’ stuff too! Girl Closet, Boy Closet, Keepsake Bin, School Papers, Games, Trophies and Medals, Kids’ Photos, Kids’ Wardrobes.
Also, ideas and tips for organizing batteries, face masks, your purse, dresser drawers, pantry, refrigerator, and car! Oh! and even ideas and tips to organize dog supplies too!
Thank you for stopping by! Until next time, Jessica! 🙂

Leave a Reply