If you are feeling crafty this fall, you have got to try this DIY dollar tree wreath. I made it all from dollar store supplies, and it only took me about 15 minutes to put it together. So, not only is this a budget-friendly DIY, but it is also super easy and quick to make.

I don’t know about you, but I have been slacking on my holiday decorating this year. I see everyone online already decorating for Christmas, and I’m still behind on my Thanksgiving game! Haha! Oops. Although I’m not big on decorating for every holiday, I usually add some decor to my home for Halloween, Thanksgiving, and Christmas.
But this year, we are a week away from Thanksgiving, and I have nothing decor-wise going on in my home—not even a wreath on the door! Although we are only a week away from Thanksgiving, I decided to at least try making a DIY dollar tree wreath. I took a trip to the dollar store, got a bunch of supplies, and hoped for the best. It turned out so cute that I decided it was blog post-worthy. Haha!
So here I am, sharing with you how I made this DIY dollar tree wreath for under $10.00 with supplies all from the Dollar Tree! And let me tell you if I could make this, you sure as heck can too! It was seriously so easy and fun to put together, and that’s coming from someone who is NOT naturally crafty! Anyway, here are the step-by-step instructions on putting this DIY dollar store fall wreath together and a list of supplies I used.
This post shows you how to make a DIY dollar tree wreath.
DIY Dollar Tree Wreath
Here is how to make a dollar tree wreath.
Table of Contents
Step 1: Gather Supplies
- Glue gun and glue
- Scissors
- Masking tape or duct tape
- 3 bamboo skewers (the dollar tree)
- Ribbon (the dollar tree)
- Wreath hanger (the dollar tree)
- Pool noodle (the dollar tree)
- Dollar Tree flowers (choose your preferred colors): I used three different colors and also got a variety of bushes that contained acorns, greenery, cotton pods, and other such items.
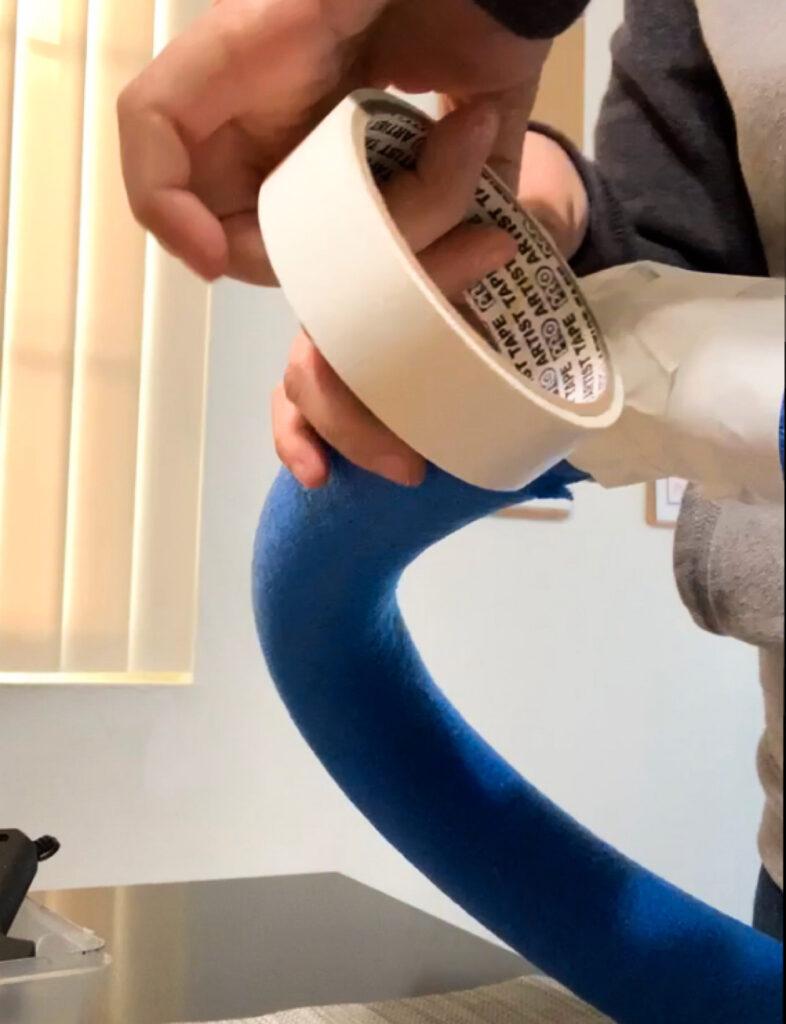
Step 2: Create a Circle With The Noodle
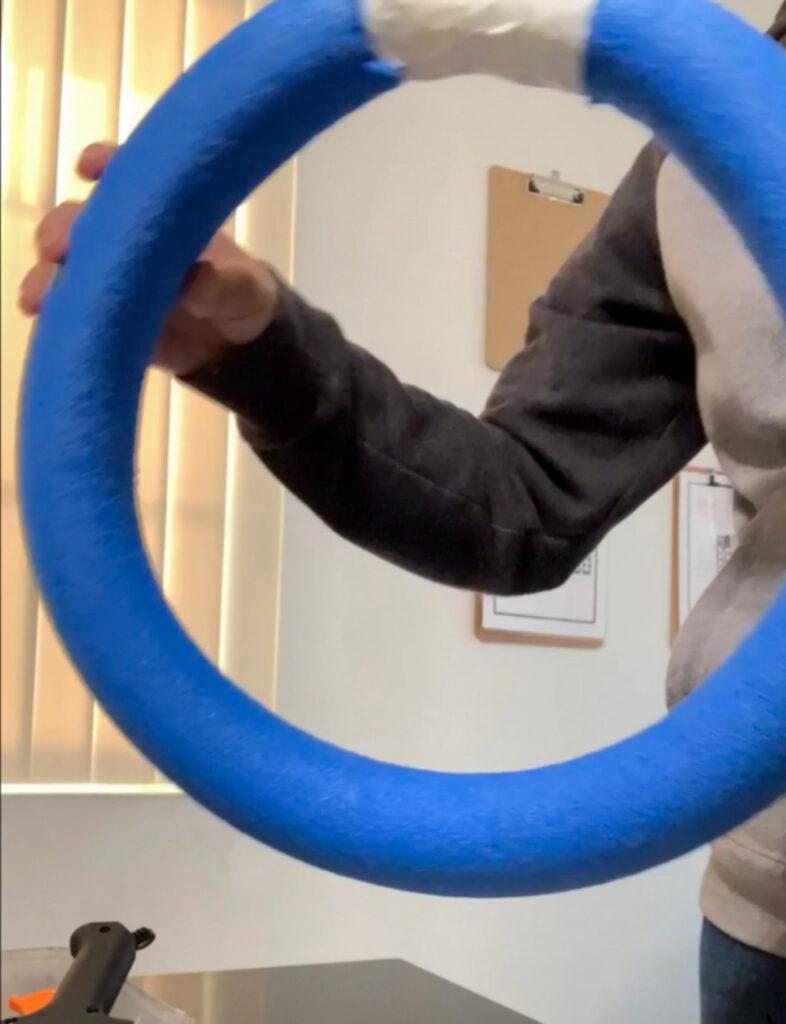
Use the noodles to create a circle. I secured the noodle ends into a circle using bamboo skewers and masking tape.
You should end up with a circle like this. (sorry for the bad-quality image)
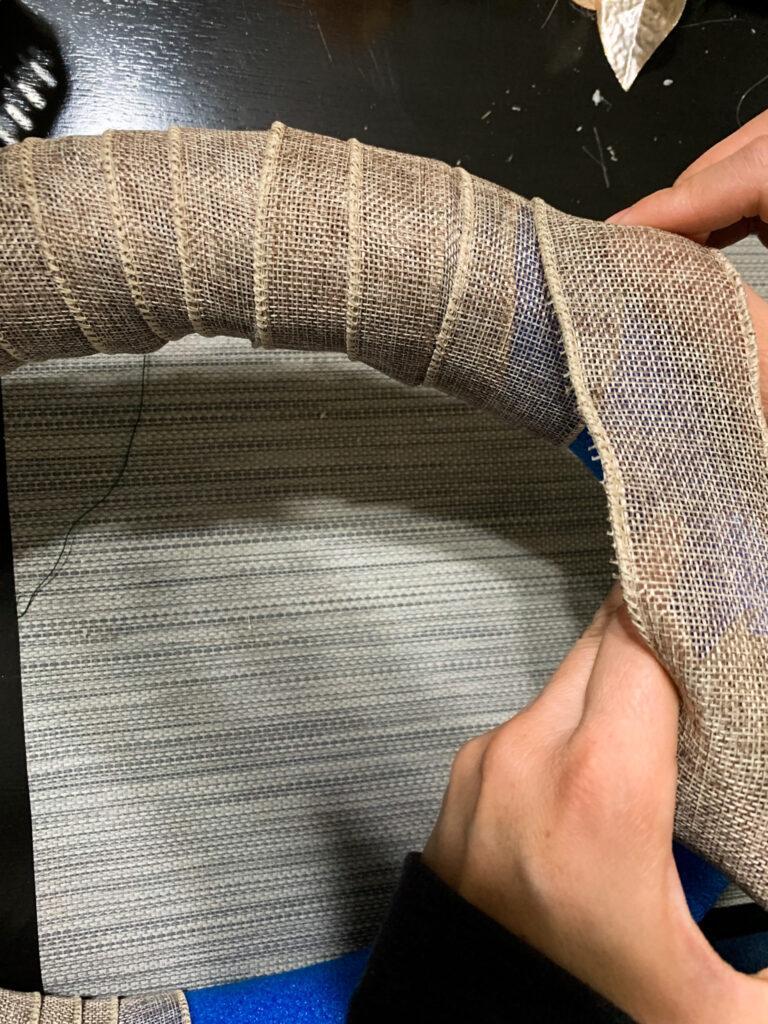
Step 3: Wrap Ribbon Around Pool Noodle
Once the pool noodle is securely taped, start wrapping the ribbon around it. Wrap it until the ribbon covers the entire noodles. Overlap the ribbon about halfway so that the blue from the noodle doesn’t show through.
Step 4: Glue Flowers To The Noodle
Once the noodles are completely covered, you’ll add the flowers next. Glue one flower at a time. Before adding the hot glue, cut the stem off entirely so you have just the flower and a somewhat flat surface to add the glue.
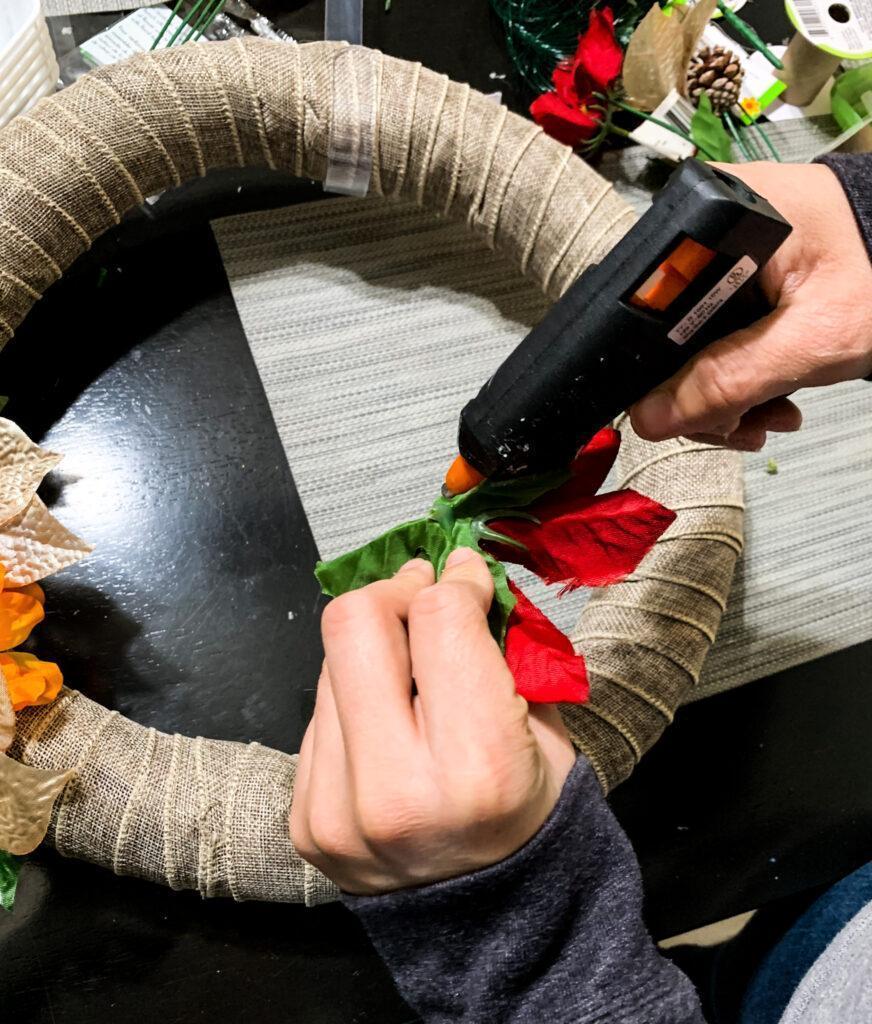
Once you have applied the glue to the bottom of the flower, press and hold it in place (wherever you want it) for about 10 seconds. The flowers should stay in place.
TIP: For a better fall look, add a variety of flowers, pine cones, cotton pods, and greenery.
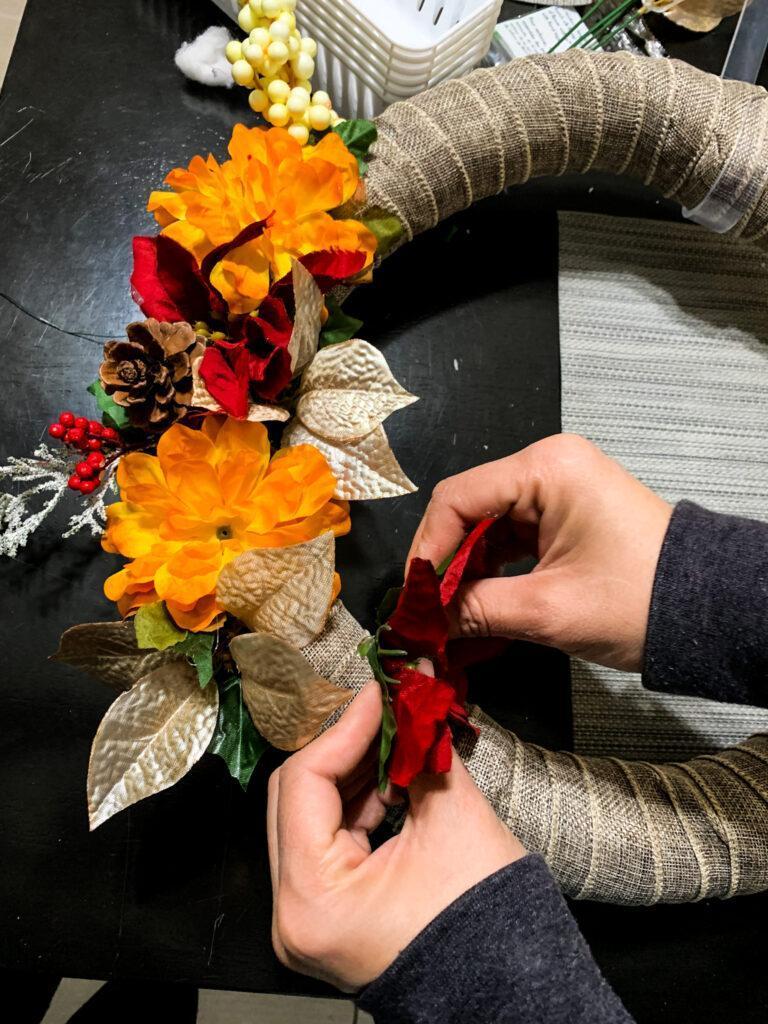
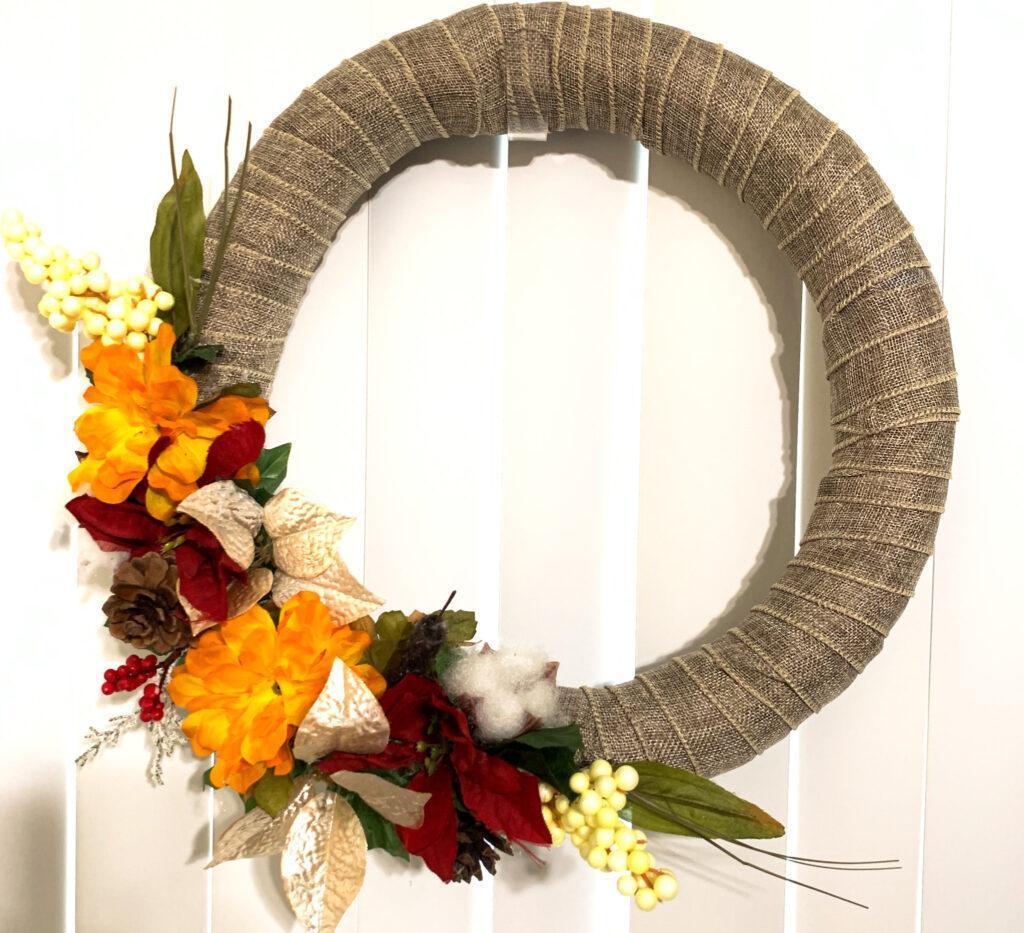
Continue hot gluing the flowers until you have reached your desired look. Add as many or as few flowers as you want. I only added flowers to one side/corner for mine, and it turned out so pretty!
And here is the end product! So pretty, right? It was super easy to make and cost less than $10.00! Win, win!
NOTE: I used a clear plastic wreath hanger from The Dollar Tree to hang the wreath, but you can also use ribbon.
And there you have it! What do you think? Would you give this a try? If you do, let me know how it turns out!
This post was all about diy dollar tree wreath.
Other Posts You Might Like:


Leave a Reply