After ignoring the grimy buildup under my stove burners and pretending I didn’t see the sticky cabinet handles, I finally hit my breaking point. That’s when I created my own kitchen deep clean checklist.

To me, cleaning isn’t only about keeping things neat. It’s a way to take back your space.
We’re all busy, and as a mom, I get it. Sometimes, cleaning just isn’t at the top of the list. Keeping a perfect home while handling everything else isn’t realistic. Unless cleaning is your job, it probably won’t happen, and that’s okay.
But when our homes are messy, it can affect how clear we feel, both mentally and emotionally. Having a clean, organized home isn’t just a bonus; it’s important. It shapes our mood, focus, and how we show up each day.
So, what can we do about it?
It’s not about being perfect. It’s about finding a system that works for your real life and helps you stay on track without taking over your day. That’s why I made my kitchen deep clean checklist.
In this post, I’ll share how I clean each part of the kitchen, what products I use, what I focus on, and what I don’t worry about. If you’re ready to take back your space one step at a time, let’s get started.
This post shows you how to achieve the ultimate kitchen deep clean.
Kitchen Deep Clean
Table of Contents
Kitchen Deep Cleaning Checklist
- Declutter:
- Put away items that don’t belong in the room and discard those you no longer need. Purge inside drawers, baskets, and cabinets as well.
- Dust and wash light fixtures
- Dust and wipe the ceiling and crown molding
- Dust and clean blinds/curtains
- Wash windows and/or sliding doors:
- Window seals and window screens, too.
- Move furniture away from walls (if any)
- Dust and wipe the walls and baseboards behind the furniture.
- Vacuum and mop underneath furniture:
- Vacuum and wipe the inside of drawers, cabinets, baskets, etc.
- Clean cabinet door/drawer fronts + door/drawer pulls.
- Wash the range hood
- Duct cover
- Grease filter
- Hood canopy
- Scrub/clean the outside of the fridge:
- Top, side, behind, and floor under the fridge
- Deep clean inside the fridge:
- Throw out expired/unwanted food
- Wash the removable parts
- Wipe clean all condiments, etc
- Clean and disinfect all surfaces
- Scrub/clean the outside of the stove:
- Top, side, behind, and floor under the stove
- Oven vents, cooktop elements, drip pans, and knobs
- Scrub/clean the oven:
- Inside surfaces
- Oven racks
- Warming drawer
- Clean the garbage disposal
- Clean, disinfect, and shine the sink and faucets
- Clean the microwave inside and out
- Clean inside the dishwasher:
- Surfaces
- Filter
- Wipe down dirty appliances
- Dust, wash, and disinfect ALL other surfaces:
- Backsplash, furniture, walls, wall hangings, decor, doors, baseboards, light switches, door knobs, power outlets, controllers, vent covers, food canisters, food containers, etc.
- Wash and disinfect the trash bin/s
- Wash and/or replace all linen:
- Hand towels, cleaning towels, etc.
- Steam clean and shampoo carpets and rugs
- Clean/disinfect floors (including grout/crevices)
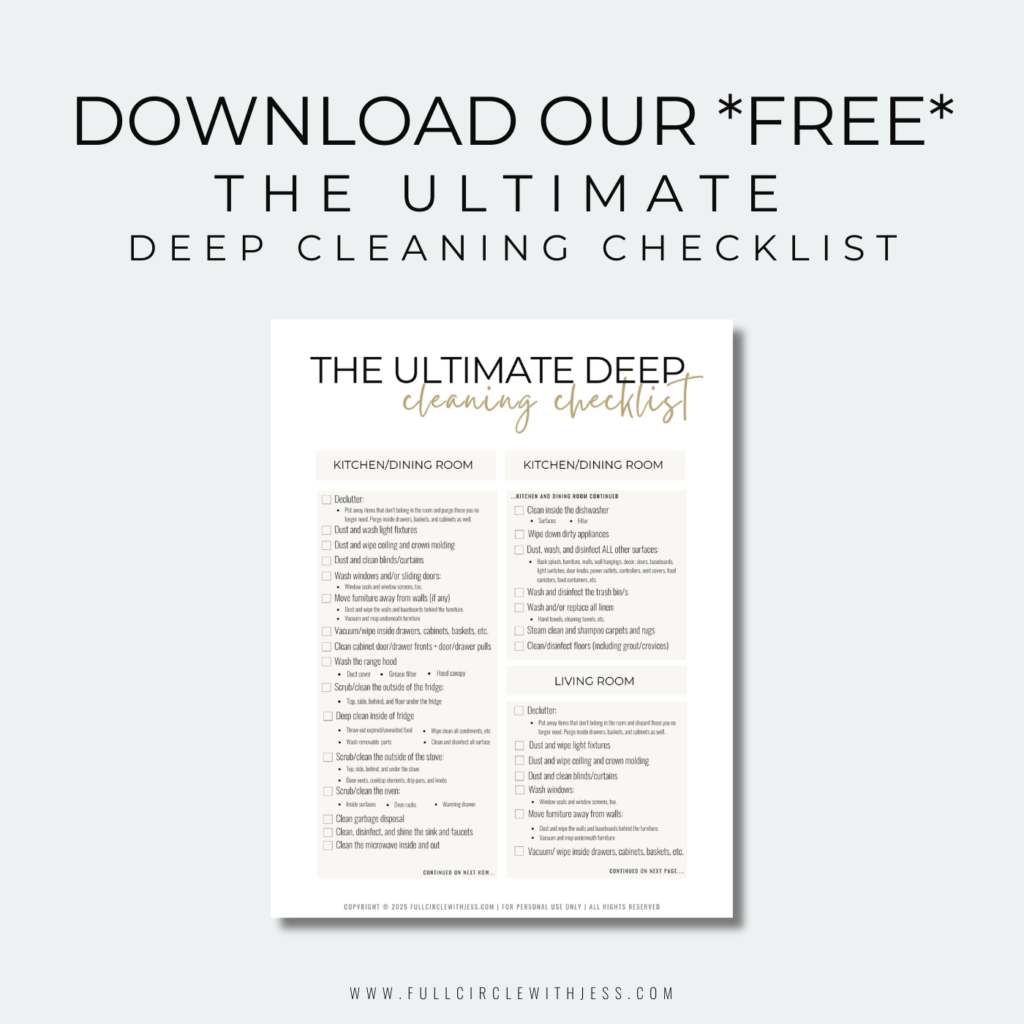
View Free Ultimate Deep Cleaning Checklist
You can also check out our Complete Home Cleaning System here if youre looking for a full cleaning system with everything in one place.
How Does The Kitchen Deep Clean Checklist Work?
I won’t repeat myself to keep this blog post from getting too long. Please refer to our ultimate house deep clean post for guidance on using the deep clean checklist and a few other tips.
Supplies I Use To Deep Clean The Kitchen
You can click the links below, or for your convenience, we have added them all to our LTK so you can view them all in one click.
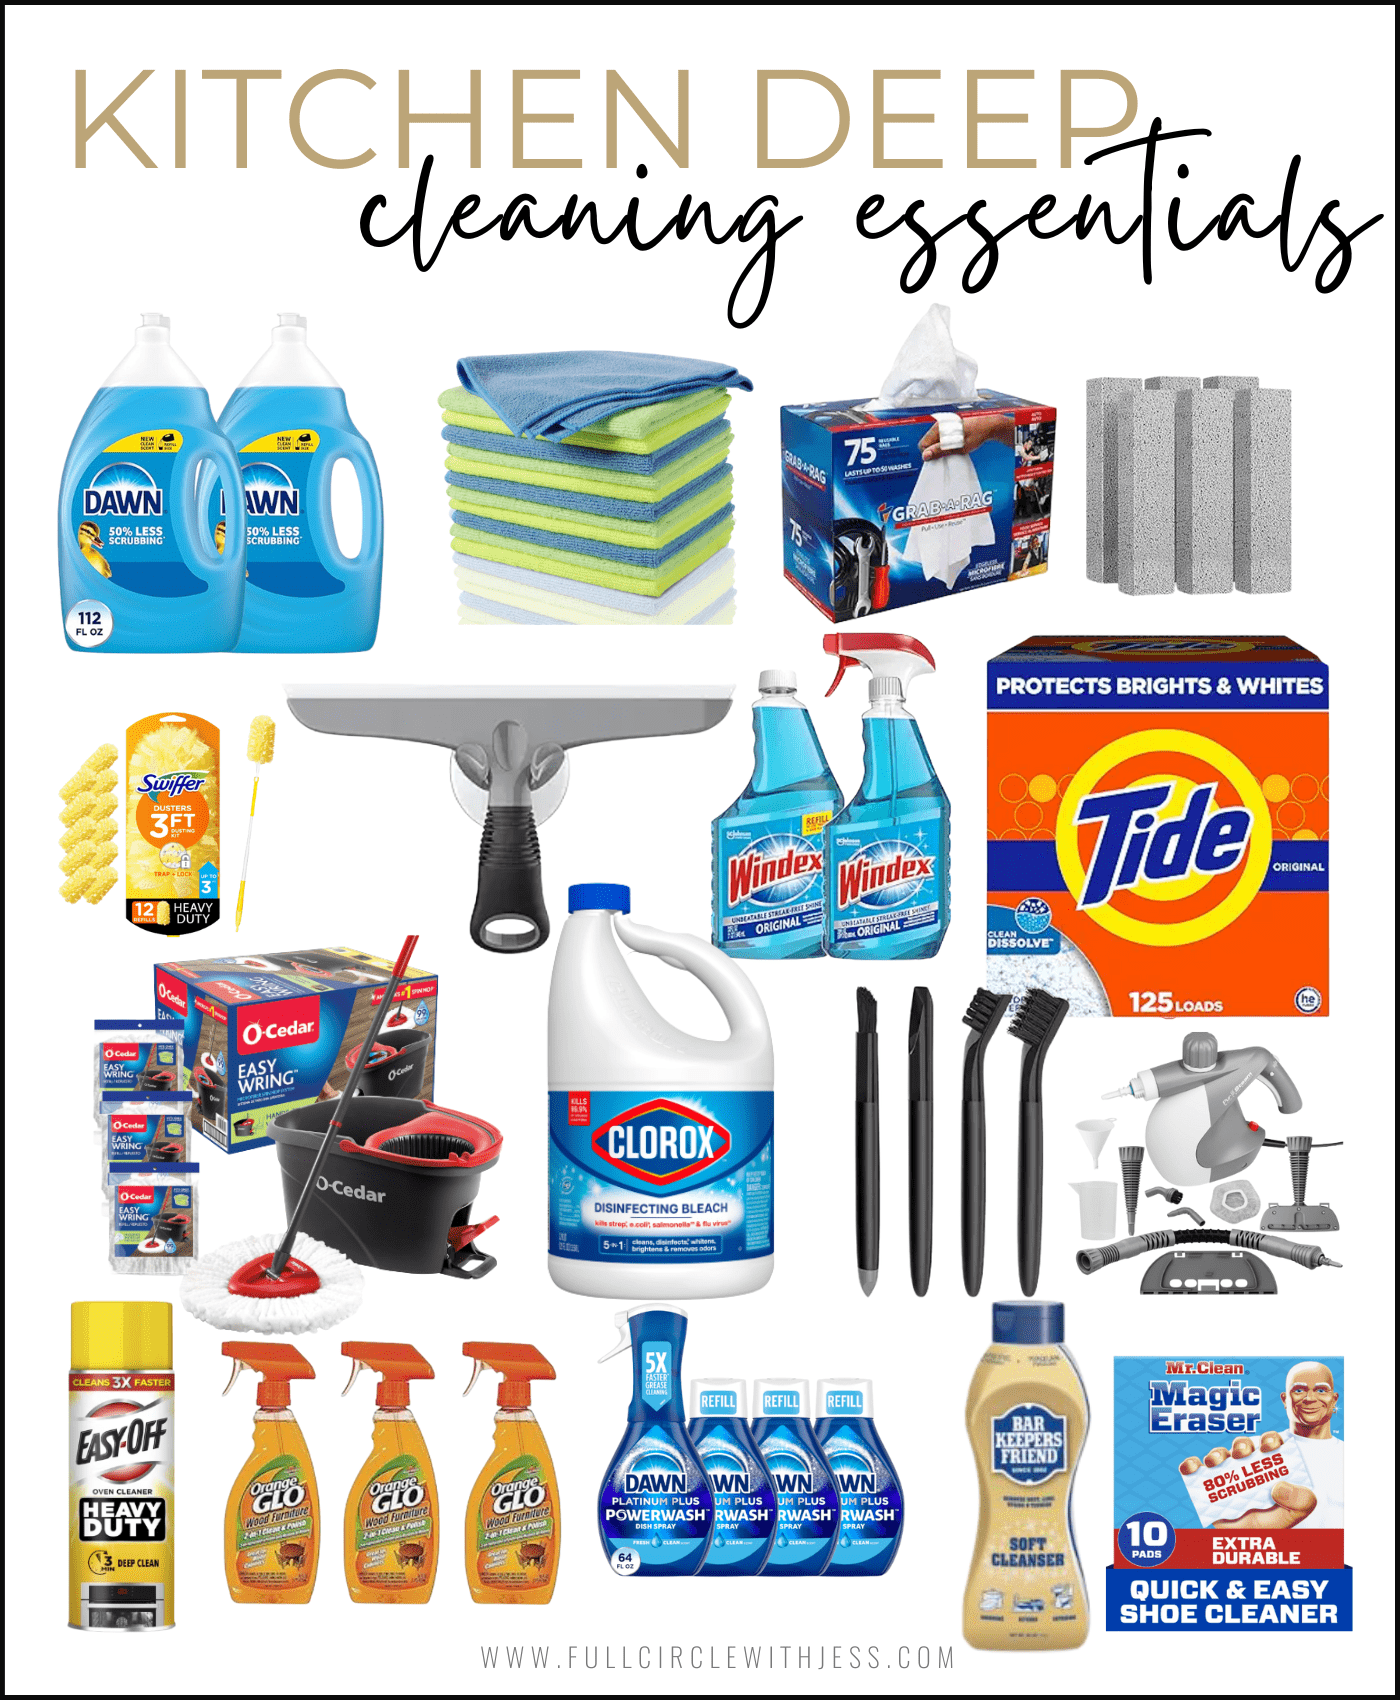
- Trash Bag
- Dish Soap
- Microfiber Cloth
- Cleaning Rags
- Stepping Stool
- Pumice Stone
- Swiffer Duster
- Bucket
- Vacuum
- Vacuum Brush Attachment
- Squeegee
- Windex
- Glass Cleaner
- Powdered Tide
- Disinfecting Bleach
- Mop
- Soft Sponge
- Small Brush
- Handheld Steamer
- Power Wash Dawn Spray
- Glo Wood Cleaner
- Bar Keepers Friend
- Gloves
- Mask
- Oven Cleaner
- Magic Erasers
Tide formula: 1 Gallon of water, 1/3 cup of bleach, and one teaspoon of powdered Tide detergent. I learned this recipe from @gocleanco and have used it ever since.
Step-by-Step Kitchen Deep Cleaning
1. Declutter
The first step in any deep cleaning routine is decluttering. It’s not a one-time task—it’s something to build into your routine. I include it in every deep clean and do quick check-ins every couple of months. Over time, it becomes second nature.
Use this step to remove any items that do not belong. Or that youre ready to let go of. Start small: one drawer, one shelf—whatever feels manageable. Keeping up with it regularly makes the process faster and easier each time.
Cleaning supplies I use: Trash bag
2. Dust and wash light fixtures

Admittedly, I don’t clean these as often as I should. I usually wait until a bulb goes out before I finally deal with the dust, but I’m making a conscious effort to change that by adding light fixtures to my kitchen deep clean checklist.
When I do get around to cleaning them, I’ve found that dish soap (I use Dawn) is a game-changer. I remove any detachable parts and wash them in the sink with water and Dawn—it’s gentle but super effective. After washing, I dry each piece with a microfiber cloth. (Make sure the parts are not warm or hot at all before washing them)
For the parts that cannot be removed, I dust and wipe them down while they are still attached to the ceiling. I always keep a step stool nearby for this—because let’s be honest, if I didn’t, I’d use that as an excuse to avoid it.
Cleaning supplies I use: Stepping Stool| Dish Soap | Water | Microfiber Cloth | Soft Sponge/Brush
3. Dust and wipe the ceiling and crown molding
The kitchen ceiling is the one place where food stains seem to appear out of nowhere—and honestly, I still wonder how some of them even get up there.
Because of that, I’ve made it a habit to tackle this task every few months. It’s a small detail that makes a big difference in how fresh and clean the kitchen feels overall.
When it comes to dusting the ceilings and crown molding, my go-to tool is the Swiffer Duster. It’s efficient, easy to use, and works. You can also use a vacuum with a brush attachment, but I prefer the Swiffer.
As I go, I look for any stains or stuck-on grime that might need extra attention. I use my trusty step stool, a few of my favorite rags, and a bucket filled with clean water and dish soap. I wipe, rinse, and repeat until everything looks sparkling clean.
Cleaning supplies I use: Swiffer Duster | Step Stool | Cleaning Rags | Bucket | Water | Dish Soap
4. Dust and clean blinds/curtains
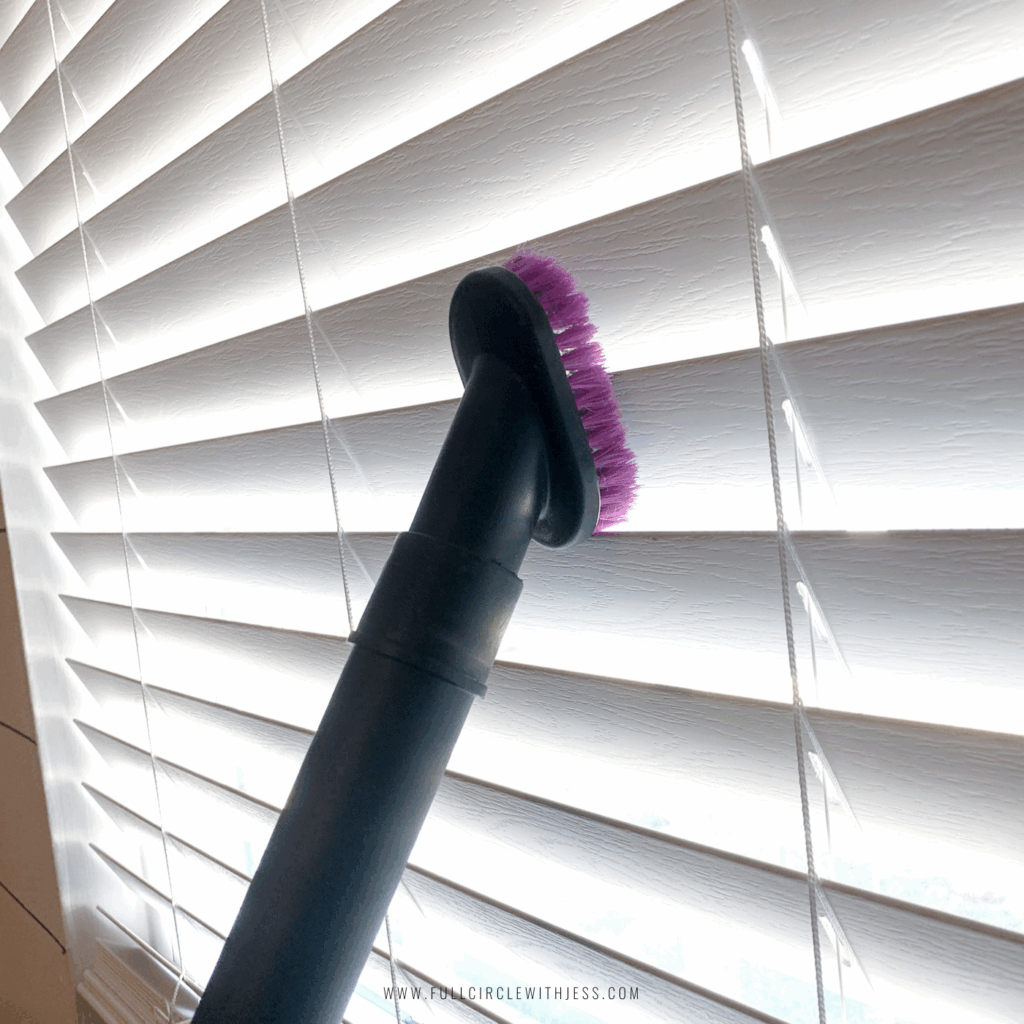
Let’s talk window treatments—because they collect way more dust and grime than we realize.
Curtains: If you have curtains, follow the washing instructions on the tag carefully. I recommend washing them about once every six months or even a year—unless they’re in an area that collects dust or grease quickly. In that case, you might need to clean them more often. Otherwise, several times a year is usually enough to keep them fresh and look nice.
Blinds: Now, blinds are a whole different story—they’re a bit more high-maintenance than curtains. I actually have an entire blog post dedicated to how I clean mine, step by step. If you have similar blinds, definitely check out that post for detailed instructions that make the job way less intimidating.
Cleaning supplies I use: See blog post.
5. Wash windows and sliding doors

Window/Door Seals: My favorite tool for cleaning window and door seals is a handheld steamer. It makes it significantly easier to reach all those hard-to-reach areas that are nearly impossible to clean otherwise. I also pair the steamer with a few cleaning cloths to wipe everything down as I go. It gets all the gunk out and leaves the seals looking brand new.
Window/door Glass: For the glass, I keep it simple. I use a bucket with water and dish soap, then wipe everything down with my go-to rags. I rinse and repeat as needed, and then finish it off with a squeegee and a dry microfiber cloth to avoid streaks and leave a spotless finish. I hardly ever have to go over it with Windex or anything like that.
Window/door Screens: You can clean window and door screens in place using the same method as the glass. That’s what I do most of the time. However, when I want to give them a thorough clean, I remove them and wash them outside with a rag, soap, and a garden hose. Afterward, I leave them out to dry for about an hour before putting them back in place—and that’s it!
Cleaning supplies I use: Bucket | Hand Held Steamer | Water | Dish Soap | Cleaning Rags | Squeegee | Microfiber Cloth | Windex (sometimes needed)
6. Move furniture away from walls (if any)
If you have furniture against the walls, this is your cue to move it and give those hidden areas a proper deep clean.
Start by dusting and wiping down the walls and baseboards behind the furniture and the furniture itself. I usually use a bucket of warm water with a few drops of Dawn dish soap—it’s gentle, effective, and safe for most painted surfaces.
Do you need to disinfect, too? Another method I use when I want to disinfect and clean at the same time is to add powdered Tide to a Bucket of warm water. You can safely add a splash of bleach (for disinfecting purposes) to the mix for a powerful cleaning and disinfecting combo. Just make sure you’re in a well-ventilated area. And remember, this method is only safe when using Tide, NOT Dawn, which should never be mixed with bleach.
Once the walls and baseboards are wiped down, vacuum and mop underneath the furniture. I also use either of the solutions mentioned above to clean the floors. And when you move everything back, you know the space behind and below is fresh, clean, and dust-free.
Cleaning supplies I use: Swiffer Duster | Water | Bucket | Dish Soap | Powdered Tide | Disinfecting Bleach | Cleaning Rag | Vacuum | Mop
7. Vacuum and wipe the inside of drawers, cabinets, baskets, and other storage areas.
For an extra thorough clean, don’t forget to focus on the inside of your drawers, cabinets, and baskets—places that often collect dust and debris unnoticed.
I use the narrow vacuum attachment to get into these spaces and suck up any dust or crumbs. After that, I follow up with a damp, soapy rag to wipe away any lingering gunk.
This is also an excellent opportunity to rearrange or declutter the contents inside. I find that giving my drawers and cabinets a quick refresh keeps everything organized and easy to find.
Cleaning supplies I use. Vacuum | Cleaning Rags | Dish Soap
8. Clean cabinet door/drawer fronts + door/drawer pulls
I always start by cleaning the cabinet doors and drawer fronts. Depending on the material, I use a bucket of warm water and Dawn dish soap to lift grease and grime. If you have a lot of grease buildup, I recommend Powerwash Dawn Spray. Let it sit for a few minutes before wiping it clean. A soft sponge is ideal for cleaning these types of surfaces, but always spot-test first to ensure it doesn’t damage the finish.
I use a small brush to scrub away any buildup on the drawer and door pulls, paying special attention to the nooks and crannies. Once they’re clean, I dry them with a rag and polish them with a dry microfiber cloth. This method is usually enough to keep them looking polished and fresh. However, I use the handheld steamer if grime is stubborn, which usually gets the job done.
Cleaning supplies I use: Water | Bucket | Dish Soap | Soft Sponge | Small Brush | Cleaning Rag/Microfiber Cloth | Handheld Steamer | Dawn Power Wash
9. Wash the range hood

The range hood is one of those areas that’s easy to overlook, but it collects grease faster than you’d think. Giving it regular attention makes a big difference in keeping your kitchen feeling truly clean.
I have a comprehensive blog post detailing how to clean a stainless steel range hood without streaks.
Cleaning supplies I use: See blog post.
10. Scrub/clean the outside of the fridge
How often should you clean your fridge? I do quick wipe-downs several times a week—usually to clean up smudges or spills. But when it comes to a deep clean of the outside, I try to do it about every three months or so.
How I clean the outside: This will depend on the type of fridge you have, so it’s always a good idea to check your refrigerator’s manual for surface-specific care instructions.
For mine, I typically use a bucket of soapy water and a few clean rags. If there are stubborn spots, I’ll swap the rags for a soft sponge. Now and then—especially if I’ve put it off too long—I bring in my handheld steamer to help break down any tough gunk.
If you have a stainless steel fridge, once the surface is dry, I recommend finishing with a polishing wood oil. I spray a bit on a microfiber cloth—NOT directly on the surface—and wipe the fridge down to leave a smooth, shiny finish. It makes a big difference!
Cleaning supplies I use: Cleaning Rags | Water | Bucket | Sponge | Handheld Steamer | Dish Soap | Glo Wood Cleaner | Microfiber Cloth
11. Deep clean the inside of the fridge

The inside of the fridge never stays perfectly clean for long, especially with kids. I’ve accepted that! I used to deep clean it every week, but now I spot clean weekly and do a full deep clean about once a month (or longer, if needed).
How I clean the inside: Before grocery shopping, I empty the fridge, then grab a bucket of warm water and dish soap with a few cleaning rags. I clean all surfaces, remove shelves and drawers to wash in the sink, and wipe down the non-removable parts with soapy water. For hard-to-reach spots, I use my handheld steamer. I disinfect with a solution of water and bleach. By the end, my fridge is fresh and ready for groceries! (working on a detailed post for this–but this is the gist)
Cleaning supplies I use: Water | Bucket | Dish Soap | Cleaning Rags | Handheld Steamer | Disinfecting Bleach | Narrow Burush
12. Scrub/clean the outside of the stove

I have a regular gas stovetop, so this routine will not apply to all stovetops.
To clean the top, I spray Dawn Powerwash, let it sit to loosen grease, then scrub with a brush or old sponge. For tougher spots, I use Bar Keeper’s Friend until it’s clean, then wipe everything down with water and finish with glass cleaner or Windex for a streak-free shine.
For the grates, I start by taking them to my sink, using dish soap, and scrubbing as much as I can. If needed, I follow up with Bar Keepers Friend and a pumice stone. If grime still lingers, I run them through the dishwasher, which usually does the trick. I’m not aiming for perfection here—just clean enough.
To clean the front and sides of the stove, I use Dawn Powerwash, scrub with a sponge, and wipe everything down with a damp rag. For stuck-on grime in crevices, I use my handheld steamer to loosen it, then wipe thoroughly. My stove’s outside surfaces are mainly glass and black, so I avoid abrasive tools and use Windex to finish it off. However, if you have stainless steel, stick to soft cloths too, and finish with an oil polish to prevent streaks.
Cleaning supplies I use: Bar Keepers Friend | Pumice Stone | Dawn Powerwash | Cleaning Rags | Bucket | Water | Old Sponge | Brush | Glo Wood Cleaner
13. Scrub/clean the inside of the stove (oven)
Cleaning the inside of the oven depends on how bad it is. I try to stay on top of it, but with regular use, it can get messy fast. If the buildup isn’t too bad, I start with Bar Keepers Friend. I scrub it in, let it sit for a few minutes, then go back in with a damp sponge, rinse, and repeat until clean. For any tough spots, I use a pumice stone. That helps get everything out.
If it’s really dirty, I’ll use oven cleaner—although I avoid it when possible due to the strong smell and it can be messy. I wear gloves and a mask, protect the surrounding area with trash bags or newspaper, and spray the inside. After letting it sit for 30 minutes or more, I scrub and wipe it out with paper towels (so I can discard them), then finish with clean water and rags, wiping, rinsing, and repeating until it is free of any residue. I’ll finish it with Windex or glass cleaner spray to leave it streak-free.
I usually cover the oven racks or grills with foil to avoid constantly cleaning them. But when they need a deep clean, I take them outside, spray them with oven cleaner (put them over trash bags) on both sides, let them sit, scrub both sides, and rinse. I’ll repeat this two times. I don’t aim for perfection for these, either—just clean enough to start fresh again.
Cleaning supplies I use to scrub/clean the inside of the stove: Bar Keepers Friend | Sponge | Water | Bucket | Pumice Stone | Oven Cleaner | Trash Bags/Newspaper | Gloves | Mask | Paper Towels | Windex/Glass Cleaning Spray | Brush
14. Clean the garbage disposal
I don’t have a complicated routine for cleaning the garbage disposal. Most of the time, I toss in a few cut-up limes and run the grinder to freshen it up. If it’s been a while, I’ll use a store-bought garbage disposal cleaner—I’ve tried a few, and they seem to work well enough. I don’t have one I prefer, I just use whatever I find at the store. But I have used this one the most, and it works well.
For the rubber splash guard, I spray it with Dawn Powerwash, scrub it with a brush, rinse, and then follow up with a bit of disinfecting bleach to thoroughly disinfect the area. That’s what works for me — simple and effective.
Cleaning supplies I use: Dawn Powerwash | Disinfecting Bleach | Brush | Garbage Disposal Cleaner
15. Clean, disinfect, and shine the sink and faucets
This post is getting quite lengthy, so I won’t go into detail for this one, as I have a separate post that explains how I clean these areas. Here, you can find a comprehensive blog post detailing the steps I take to clean, disinfect, and shine the sink and faucets. If you have a stainless steel sink and faucet, be sure to check that out.
Cleaning supplies I use: See blog post.
16. Clean the microwave inside and out
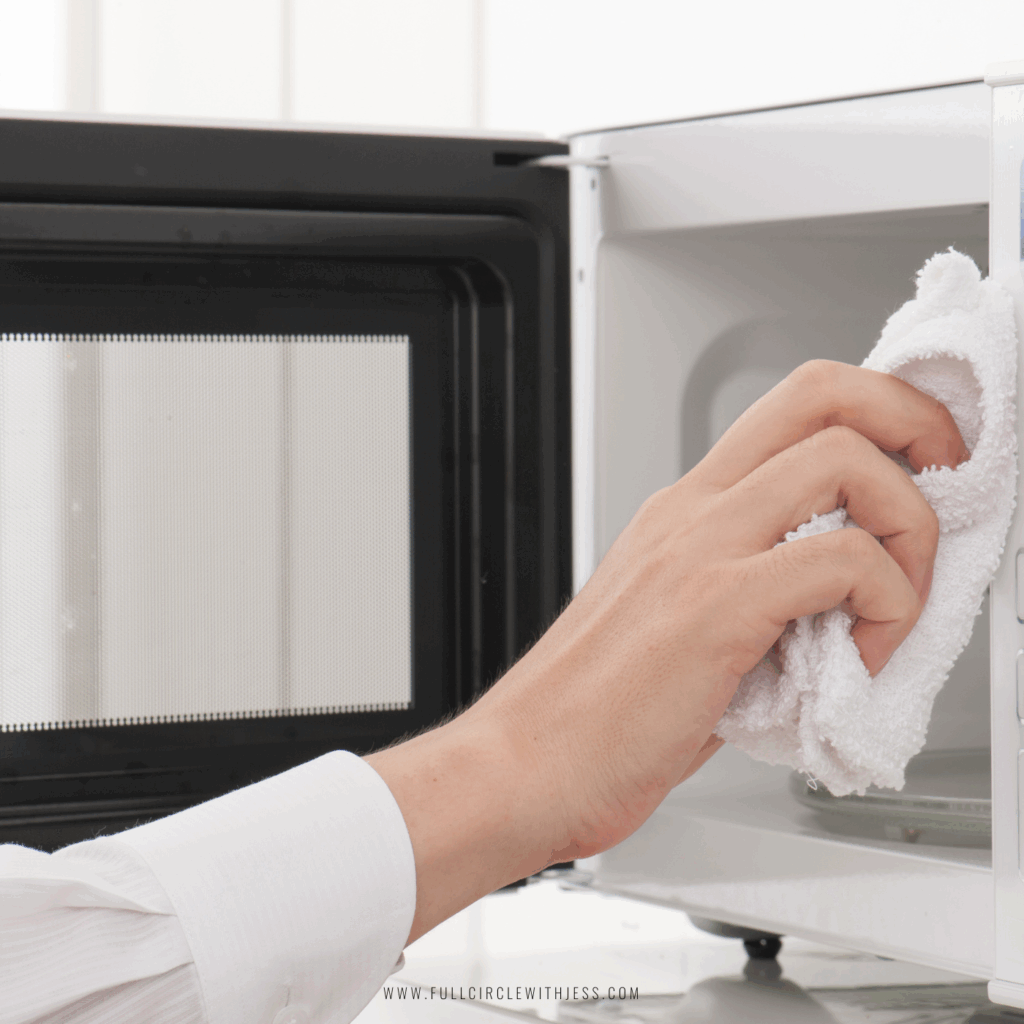
There are a few easy ways to clean the microwave, both inside and out. One method is to microwave a bowl of vinegar for 4-5 minutes to loosen the gunk, making it easier to wipe away.
I also use Dawn Powerwash, spraying it inside, letting it sit for a few minutes, and then wiping everything off with paper towels.
Windex works too — spray inside, heat for a minute, then wipe.
I spot-clean it weekly, so it never gets too bad. The glass plate comes out and is easily washed in the sink. For the outside, I use glass cleaner or soapy water with a rag if it’s greasy, and I finish with my favorite oil to leave the stainless steel streak-free.
If you stay on top of it, deep cleaning is easy. However, if it’s been a while and you have stubborn gunk and grease, Dawn Power Wash is my go-to choice for both the inside and outside. Just spray the inside and outside, let it sit for a few minutes, then come back and just wipe it all down. Works like a charm!
Cleaning supplies I use: Vinegar | Dawn Powerwash | Windex | Paper Towels | Glo Wood Cleaner | Dish Soap | Cleaning Rag | Microfiber Cloth
17. Clean inside the dishwasher
Most dishwashers have similar parts that require regular cleaning, including the filter, door seal, and interior and exterior surfaces. When deep cleaning, I remove the filter and spray arms, take them to the sink, wash them with dish soap, rinse them thoroughly, and then disinfect them with a mixture of water and bleach.
I scrub the rest of the interior with hot, soapy water and use a brush for tight spots. I rinse the soap thoroughly, then finish it with a second scrub with hot water and bleach. This will help remove the last stubborn gunk and disinfect the area. I then run one cycle with the hottest setting, leaving it as good as new. (Make sure you put all the parts you removed back in properly before running a cycle)
For the exterior, I wipe it with a soapy rag if needed, dry it with a microfiber cloth, and use glass cleaner for a streak-free finish. If you have stainless steel, you can use the oil polish instead to achieve a streak-free finish.
Cleaning supplies I use: Bleach | Water | Sponge | Brush | Dish Soap | Windex | Cleaning Rag/Microfiber Cloth | Glo Wood Cleaner
18. Wipe down dirty appliances
Don’t forget your appliance—big or small! I clean mine monthly or as needed. I use a narrow brush and dish soap to scrub the crevices, then wipe them with a damp rag (rinse and repeat), and finish with a microfiber cloth to polish and dry. It’s quick and straightforward, keeping everything clean and free from grime.
Cleaning supplies I use: Microfiber Cloth | Brush | Cleaning Rag | Dish Soap
19. Dust, wash, and disinfect ALL other surfaces

Surfaces: Backsplash, furniture, walls, wall hangings, decor, doors, baseboards, light switches, door knobs, power outlets, controllers, vent covers, food canisters, food containers, etc. This is when you can go in and find any physical items or spaces not already on this list—wash, clean, and disinfect them as appropriate. If it’s a surface and it exists in your kitchen, clean it. I mean anything!
To dust and wash most surfaces, I first use a Swiffer Duster or dry microfiber cloth to remove all the dust. Then, I use a bucket with water, Tide Powder, and Bleach, paired with cleaning rags, to clean and disinfect.
This formula leaves your surfaces super clean! I use water and dish soap only for all other surfaces that cannot be cleaned with bleach. I rinse and repeat as needed. And Magic erasers are the best for scuffs and stuff like that.
Cleaning supplies I use: Microfiber Cloth | Swiffer Duster | Powdered Tide | Disinfecting Bleach | Dish Soap | Magic Eraser | Cleaning Rag
20. Wash and disinfect the trash bin/s
Wash and disinfect your trash bin regularly, especially the one in the kitchen, to prevent odors. I take mine outside, scrub it with Dawn’s soap and a sponge, and brush for the crevices. I rinse it with the hose, then fill it with hot water and bleach to disinfect it. I let it sit, rinsed it again, and leave it to dry before taking it back in.
Cleaning supplies I use to wash and disinfect the trash bin/s: Dish Soap | Brush | Old Sponge | Disinfecting Bleach | Water
21. Wash and/or replace all linen
Wash or replace all kitchen linens regularly to maintain a clean kitchen. Frequency depends on many factors that vary from home to home, but bi-weekly is a good rule of thumb. Toss items like hand towels, cleaning towels, and washable rugs in the washer, and keep a designated spot for clean and dirty linens so you dont mix them. Doing this will help tremendously with foul odors.
Cleaning supplies I use: Laundry detergent | Washer | Baskets
22. Steam clean and shampoo carpets and rugs
I dont have rugs or carpets, so I can’t tell you how I clean them, but if you do, a small carpet cleaner is your best bet for deep cleaning. To maintain them between cleans, spot-treat stains quickly with fabric or carpet cleaner—like the one I use on my couch—to prevent buildup.
23. Clean/disinfect floors (including grout/crevices)

Clean and disinfect floors, including grout and crevices. While I mop weekly, deep cleans let me target areas mops often miss, such as grout lines, corners, and edges where buildup can accumulate.
I use a brush with the Tide and Bleach solutions to scrub and disinfect thoroughly. If needed, I also use my handheld steamer to thoroughly clean the grout. It’s a backbreaker for sure, but I only do it maybe once or twice a year, so it’s not too bad. To finish it off, I fill my mop bucket with water, Powdered Tide, and bleach, and mop the rest of the floor. I rinse and repeat as needed. This leaves my floors SO SO clean!
Cleaning supplies I use: Handheld Steamer | Powdered Tide | Mop | Disinfecting Bleach | Brush
This post was all about a kitchen deep clean.
Other Posts You Might Like:
Leave a Reply