So I’ve been working on my son’s closet for a couple of weeks now. (check that out here) And I wanted to add locker bins for additional storage. I needed three.
Well, I searched high and low. In-person and online. And ultimately they were all just way too pricey. I just couldn’t justify the cost.
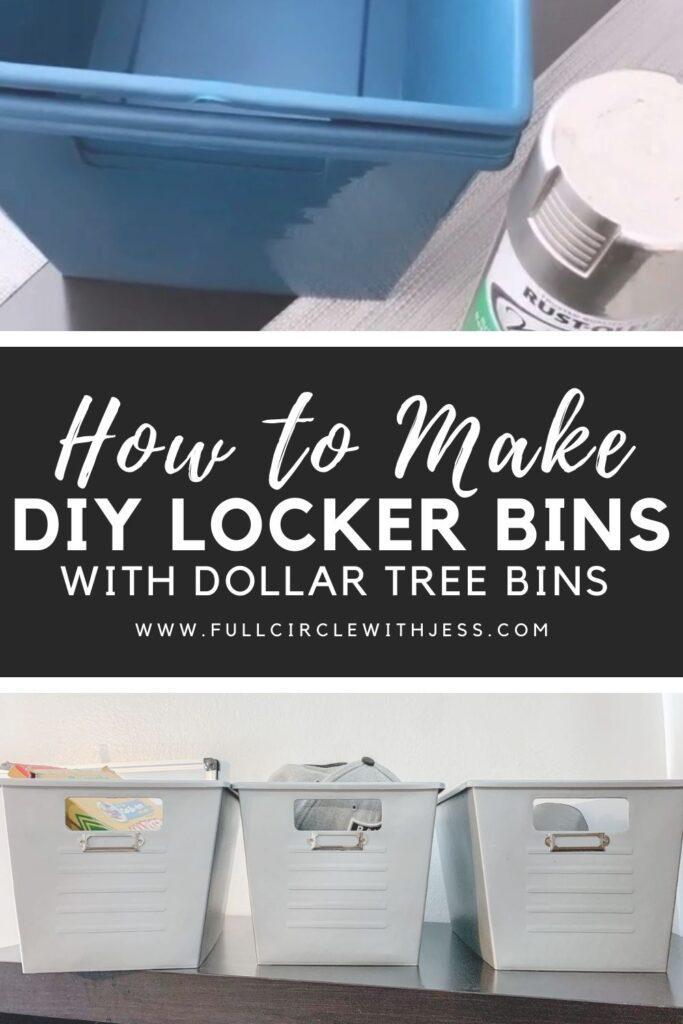
So I went a different route. I’ve used these bins from the dollar tree around my home for many other projects. So I knew they had a similar look to the bins I wanted.
However, they usually come in random colors. It’s pretty hard to find a specific color. And I’ve never seen them in silver. So I decided I’d paint them the color I wanted. And hopefully, end up with something close to the look I was aiming for.
And they are just $1.00 each, so I figure a few bucks was worth the try. If they didn’t turn out it wouldn’t be such a big deal.
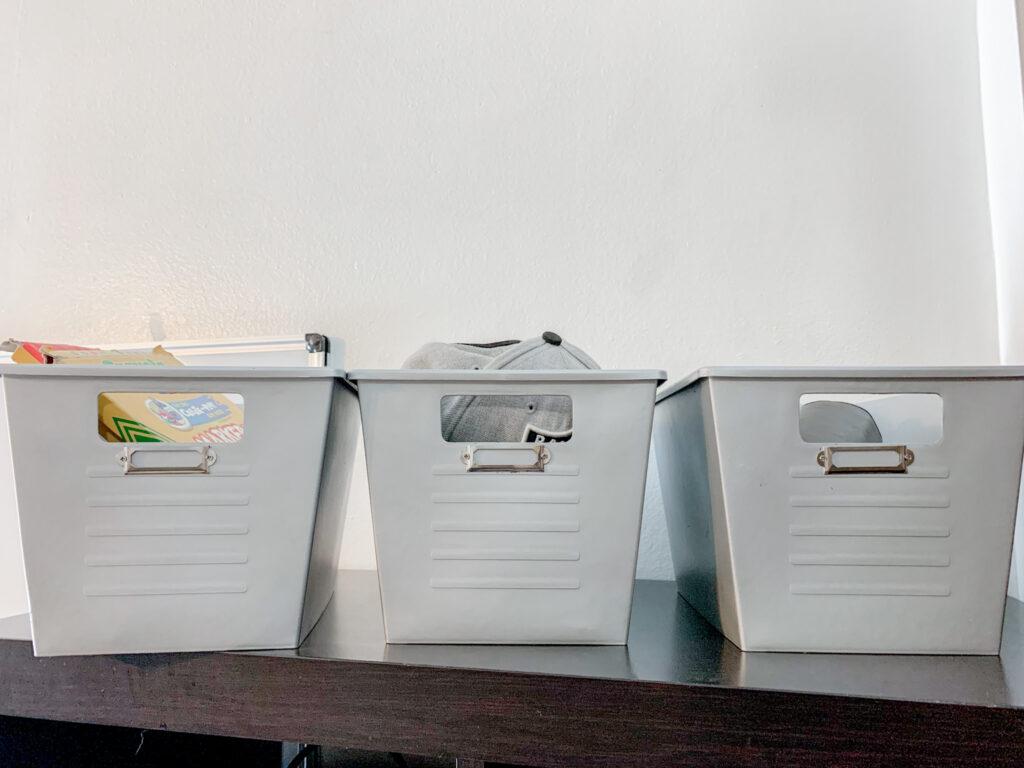
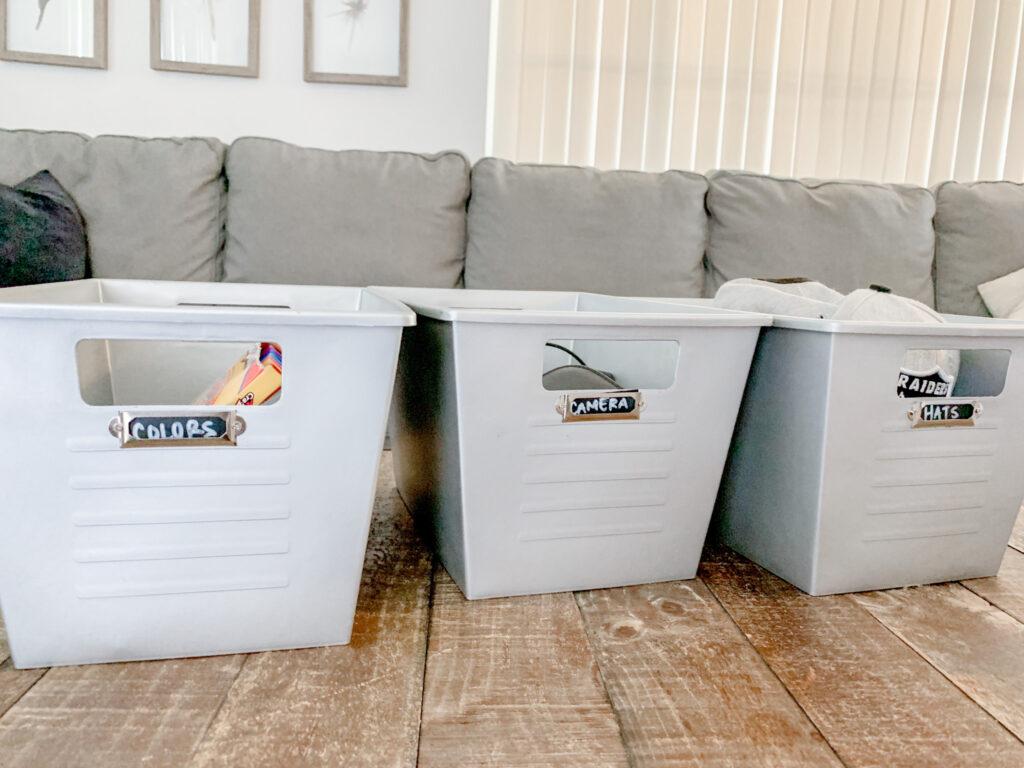
Anyway, well spoiler alert!!!!! They. Turned. Out! And I’m in love. I’m not kidding!!! I want to make more. They are just so cute!
Here are all the details! In case you want to try this little project out yourself!
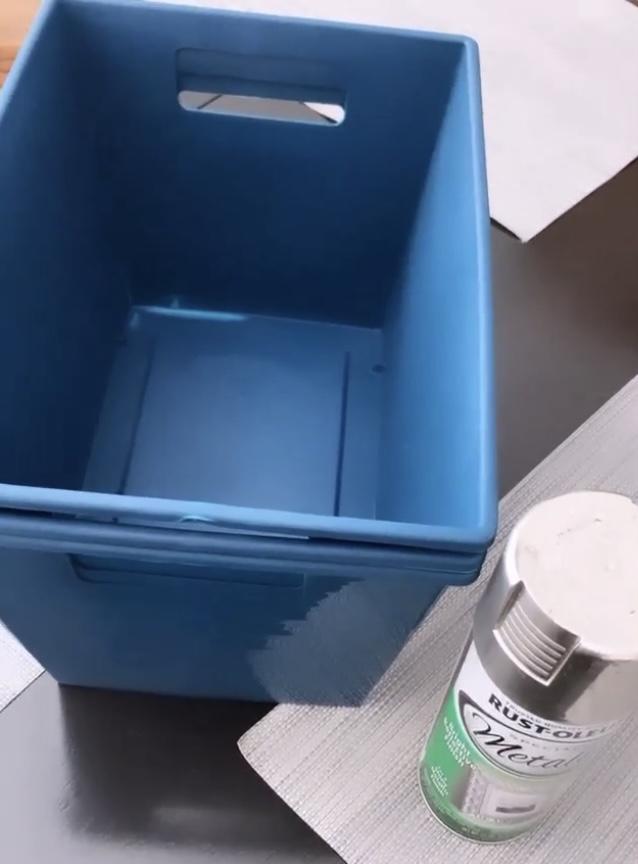
But first, here is what they looked like before. (not the greatest photo, I totally forgot to take a picture, so had to screenshot this one. Oops)
SUPPLIES
- Rust-Oleum Spray Paint – Silver: I used less than half a can for three bins.
- Metal Label Holders: I bought a 50 PCS as I plan to use them in other areas of my home, but there are smaller packs available.
- (Similar) Chalk Labels & Chalk Marker– These come in a roll, but you can just cut them to size.
- The Dollar Store Rectangular Plastic Locker Bins with Handles, 12×8.5×7 in.
HOW TO:
- Step 1- Start by wiping the bins, make sure they are nice and clean and dry. Then find a place you want to spray paint them at. Either do it in an area you don’t mind the over-spray or put down a cloth to protect the surface from over-spray.
- Step 2- Line up your bins and start spray painting. Let each side dry completely before moving on to each different side. Once you have sprayed all sides and they are fully dry, give them a second coat where needed. Then let them dry one last time.
- Step 3- Last, when they are all nice and dry, add the label metal holders to the side you want them on. And voila! You’re all done!
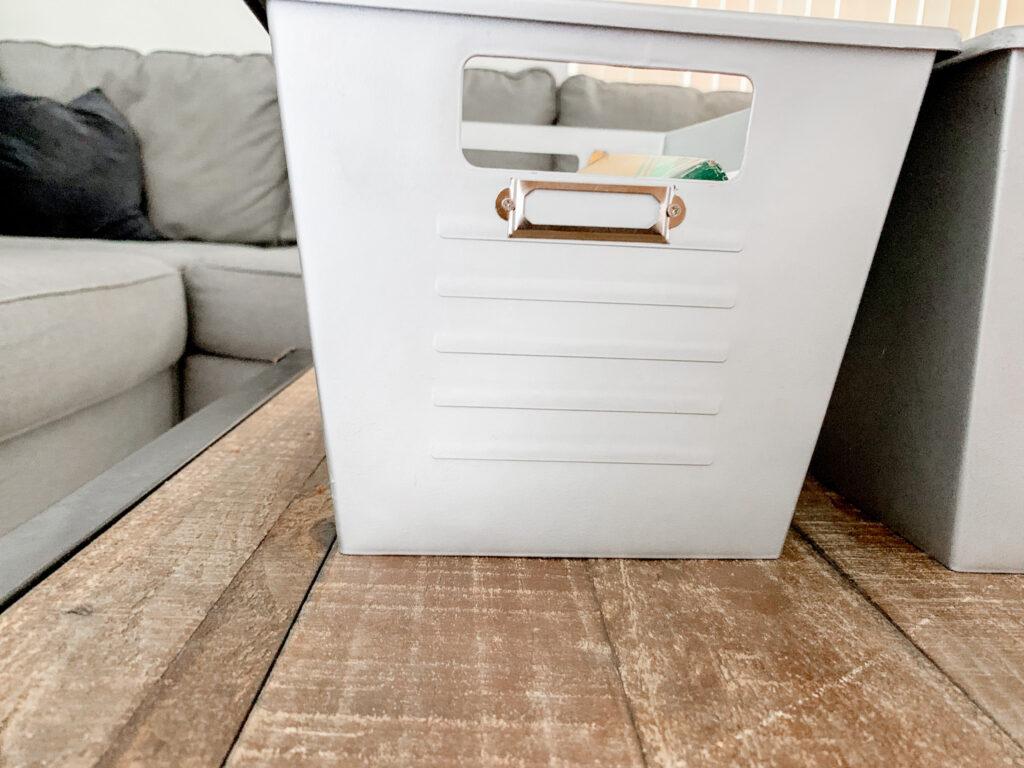
Easy, right? I’m so happy I tried this out and even happier they turned out the way they did. It’s cost me less than $10.00 to make them myself. Are they real “metal” locker bins? No. But heck, they look pretty dang close!

I will definitely make more for the next project in my son’s bedroom, and I cannot wait!


Don’t forget to check out the full closet reveal here! And also, check out my Instagram highlight “boys closet” if you would like to visually follow along from start to finish on this closet project and locker bin DIY!

Leave a Reply